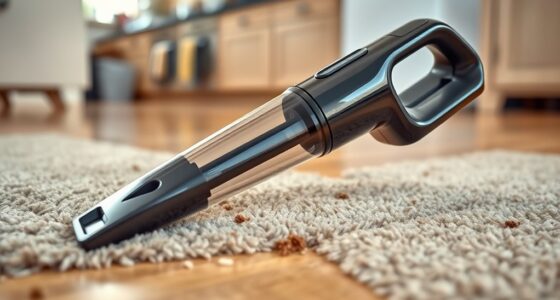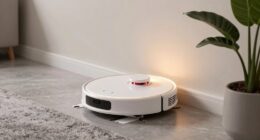
Cleaning and maintaining your Dyson vacuum not only ensures its peak performance but also contributes to a cleaner and healthier living environment for you and your family. As a long-time user of Dyson vacuums, I know firsthand the importance of proper care and maintenance to maximize suction power and extend the lifespan of these exceptional machines.
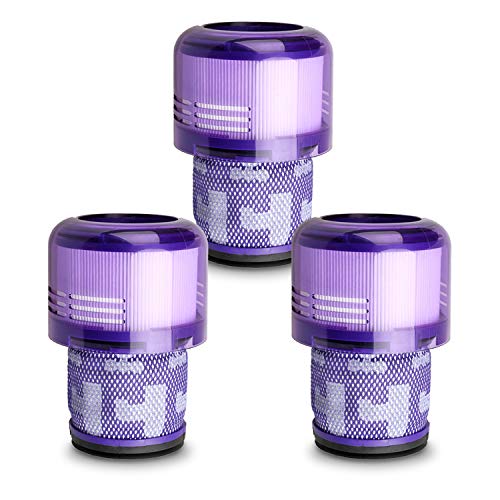
When it comes to capturing those microscopic particles that can trigger allergies and respiratory issues, Dyson cordless vacuum filters are engineering marvels, trapping 99.99% of dust and bacteria as small as 0.3 microns, as backed by statistical data from1. Monthly washing of the filter is recommended to maintain suction power and ensure at least 99.97% filtration efficiency in boost mode, as stated by Dyson themselves1.
Do you ever find yourself questioning why your Dyson vacuum is losing suction? Well, dirty filters, a full dustbin, obstructions, and even mechanical failure can be the culprits, according to research from2. To prevent clogs and damage, it’s crucial to include a quick pre-vacuum clean-up routine in your cleaning regimen, as suggested by Dyson2. This not only keeps your vacuum in top shape but also ensures a longer lifespan for your beloved cleaning companion.
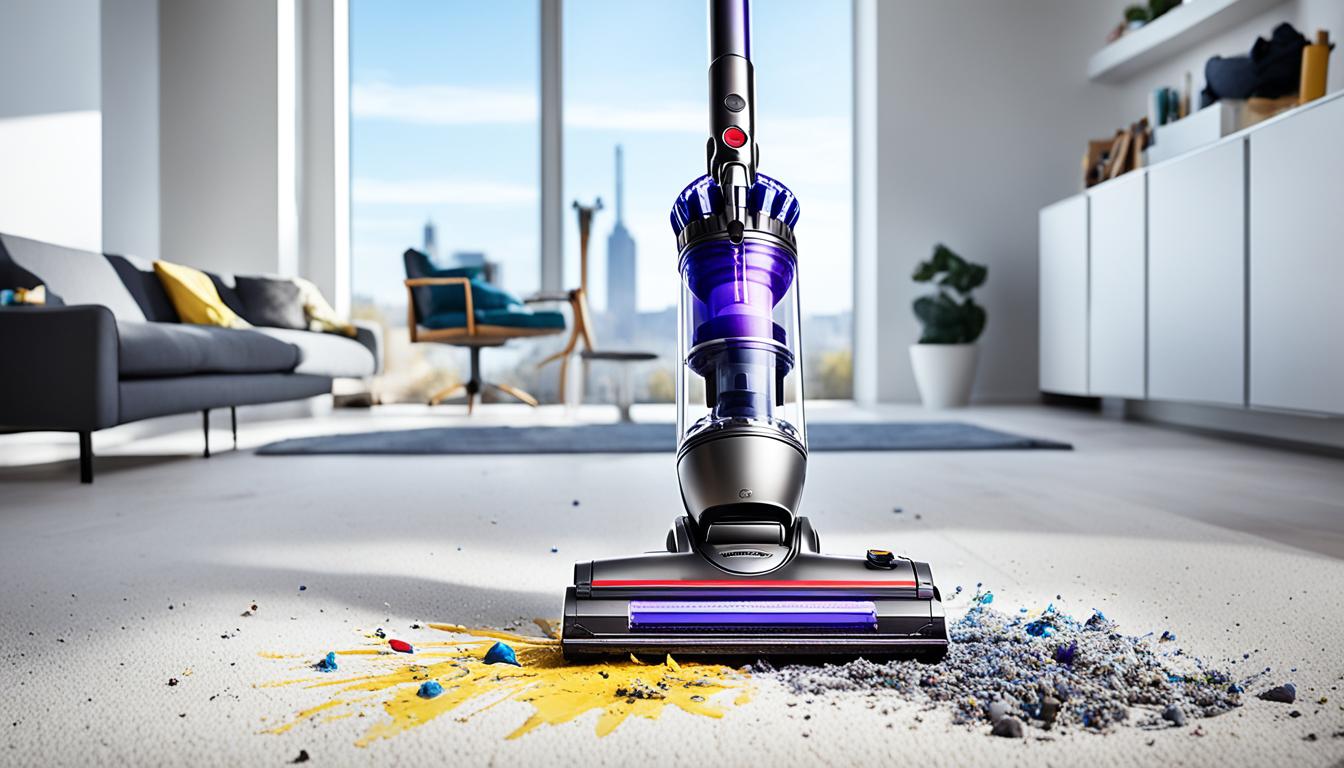
Regular maintenance of your Dyson vacuum goes beyond just cleaning the filter. Dyson vacuums utilize cyclonic technology, separating dirt and dust from the air and preventing filter clogging, as highlighted by3. This technology, coupled with the brush bar at the bottom of the vacuum, efficiently dislodges dirt from carpets or floors to provide consistent suction power, as verified by3.
A clean and well-maintained vacuum not only leads to better cleaning performance but also improves energy efficiency, as reported by3. By embracing a regular cleaning routine, you can save money in the long run and enjoy the exceptional cleaning performance that Dyson is renowned for.
Key Takeaways:
- Cleaning your Dyson vacuum regularly is crucial for maintaining performance and prolonging its lifespan.
- Washing the filter at least once a month is recommended to maintain suction power and filtration efficiency.
- A quick pre-vacuum clean-up routine helps prevent clogs and damage to the vacuum.
- Dyson vacuums use cyclonic technology and a brush bar to ensure consistent suction power and efficient dirt removal.
- A well-maintained vacuum improves energy efficiency and saves money in the long run.
Now that you understand the importance of cleaning and maintaining your Dyson vacuum let’s dive into the step-by-step process that will keep your vacuum in top shape and ensure cleaner air in your home.
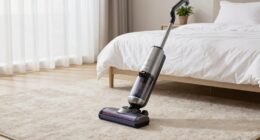
Why Cleaning Your Dyson Vacuum Is Important
Regular cleaning of your Dyson vacuum is essential for maintaining its performance and extending its lifespan. Proper vacuum maintenance ensures efficient cleaning, prevents blockages, and saves you money in the long run.
By regularly cleaning your Dyson vacuum, you can maintain its suction power and ensure effective cleaning of your home or office space. Over time, dirt, debris, and pet hair can accumulate in the vacuum’s brushes, filters, and dust canister, causing clogs and reducing suction power. Cleaning these components regularly will prevent blockages and ensure optimal performance, allowing you to achieve a clean and dust-free environment.
Cleaning the filters, in particular, is crucial to maintain the efficiency of your Dyson vacuum. Dyson recommends cleaning the filters at least once a month4. Depending on your usage frequency, it may be necessary to clean them more often. Dirty filters not only impact suction but can also lead to a decline in overall performance. Some advanced Dyson models feature sensors that indicate when it’s time to clean the filter, making it easier to maintain the vacuum’s optimal functionality5.
The dust canister should be emptied promptly, even if it appears empty, to prevent blockage issues5. All Dyson vacuums are bagless, allowing for easy emptying and cleaning of the canister. Regularly checking and emptying the canister will prevent debris from overflowing and impairing the vacuum’s performance.
Thoroughly cleaning your Dyson vacuum every six months is recommended to prevent the accumulation of dirt, dust, and odors. It is also essential to allow vacuum parts to dry for at least 48 hours after cleaning to prevent the development of a mildew smell6. Cleaning the brush roll, which can be done by removing three screws6, is important to prevent damage and ensure optimal performance. Carefully trimming hairs from the brush roll, rather than forcibly removing them, will help prolong its lifespan5.
Regularly checking the vacuum hose for blockages and using white distilled vinegar to dislodge any obstructions5, as well as cleaning attachments, will contribute to maintaining optimal performance and preventing any loss of suction power. It is also recommended to keep the exterior of your Dyson vacuum clean for overall hygiene and appearance5.
Each Dyson vacuum model may have unique components and cleaning requirements, so it is crucial to follow the manufacturer’s instructions. Consulting the user manual or Dyson’s official website for specific cleaning procedures will ensure effective maintenance and prolong the lifespan of your Dyson vacuum cleaner.
| Statistics | Source |
|---|---|
| General rule: Clean your Dyson vacuum every two months. | Link 1 |
| Cleaning frequency: More frequent cleaning may be necessary for heavy usage or pet owners. | Link 1 |
| Filter cleaning recommendation: Dyson advises cleaning filters at least once a month. | Link 1 |
| Dustbin and filter cleaning frequency: Suggested at least once a week for dustbin and monthly for filters. | Link 1 |
| Drying time for filters: Filters need to be left to dry for a minimum of 24 hours. | Link 1 |
| Recommended frequency for thorough cleaning of a Dyson vacuum: at least every 6 months | Link 2 |
| Rule of thumb for drying vacuum parts post cleaning: at least 48 hours to prevent mildew smell | Link 2 |
| Number of screws to remove to clean the brush: 3 | Link 2 |
| Popular cleaning method: throwing attachments in the dishwasher | Link 2 |
| Cleaning approach: unconventional compared to the Dyson manual, yet effective and popular with users. | Link 2 |
| Dyson vacuum filters should be cleaned once a month for general guidance, depending on usage frequency. Advanced Dyson models feature sensors that indicate when it’s time to clean the filter. | Link 3 |
| It is recommended to empty the Dyson vacuum canister promptly to prevent blockage issues, even if it still seems empty. | Link 3 |
| A dirty filter can reduce the suction of a Dyson vacuum, prompting the need for cleaning. Cleaning the filter once a month is advised by Dyson, but the frequency should be adjusted based on individual usage. | Link 3 |
| The canisters of Dyson vacuums are all bagless, allowing for easy emptying and cleaning. | Link 3 |
| Regular maintenance of a Dyson vacuum, including filter cleaning and canister emptying, can prevent performance issues like loss of suction power. | Link 3 |
| Failure to clean a Dyson vacuum may lead to a decline in performance, including lagging suction and issues with venting, which may eventually cause the vacuum to cut out. | Link 3 |
| It is crucial to clean the brush roll of a Dyson vacuum to prevent damage, ensuring that hairs are carefully trimmed and not forcibly removed. | Link 3 |
| The Dyson vacuum hose should be checked for blockages, with suggestions on using white distilled vinegar to dislodge any obstructions. | Link 3 |
| Cleaning the attachments of a Dyson vacuum is essential for maintaining optimal performance. | Link 3 |
| Maintaining the cleanliness of a Dyson vacuum exterior is recommended, contributing to overall hygiene and appearance. | Link 3 |
| Dyson vacuum cleaners may have different components and cleaning requirements based on the model, necessitating unique cleaning procedures. | Link 3 |
Lemige 3 Pack Vacuum Filters Replacement Parts Compatible with Dyson V11 Origin V11 Torque Drive V11 Animal V11 Complete V11 Extra V15 Detect V15s Detect Submarine Vacuums, Compare to Part 970013-02
FIT MODELS – V11 V15 Filter Replacement for Dyson V11 Origin Cordless Vacuum (B00FZPRUTY, B0C2J7R8PY) V11 Animal V11…
As an affiliate, we earn on qualifying purchases.
As an affiliate, we earn on qualifying purchases.
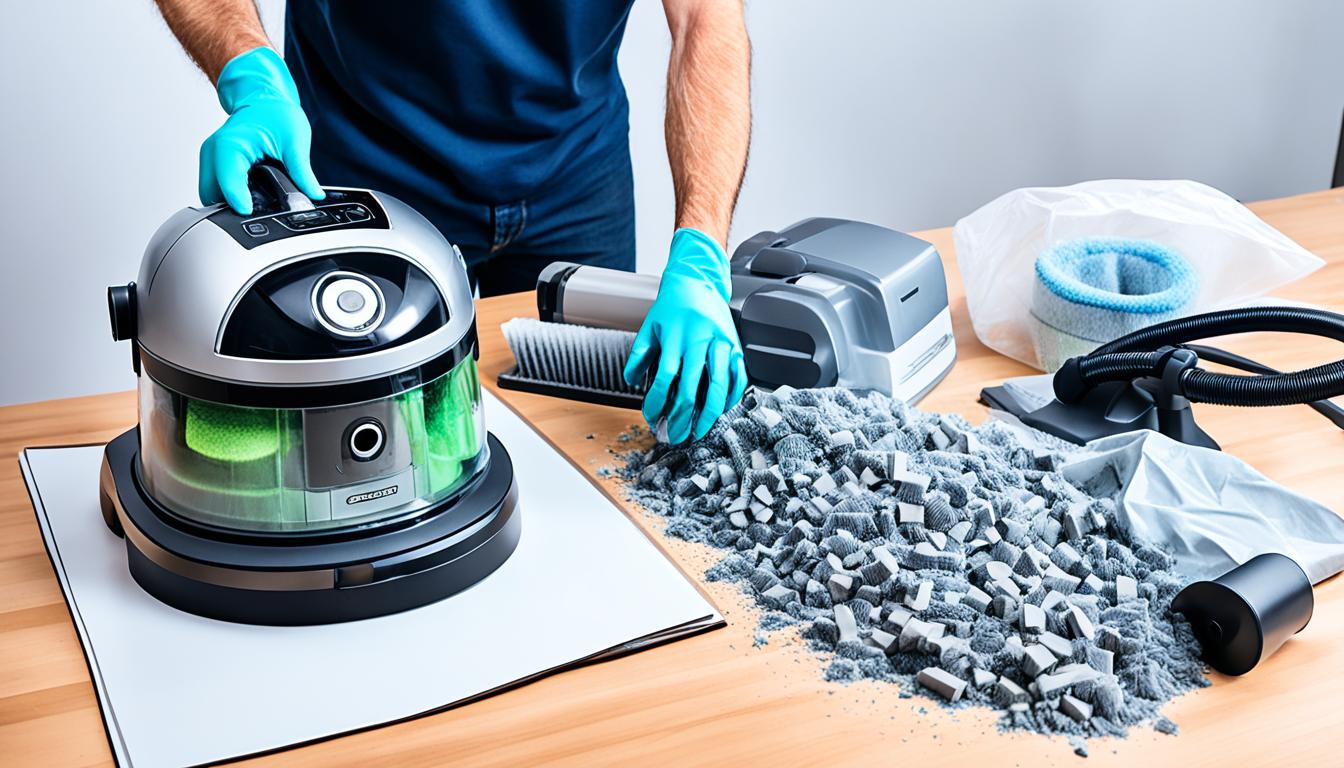
How to Clean the Dust Canister
The first step in proper vacuum cleaner care is to maintain a clean dust canister. Regularly cleaning the dust canister not only ensures optimal performance but also prolongs the lifespan of your vacuum. Follow these steps to effectively clean the dust canister:
- Start by removing the dust canister from your vacuum cleaner and taking it to a well-ventilated area.
- Empty out the contents of the dust canister into a waste bin. Dispose of any debris or dirt, making sure to follow local waste management guidelines.
- Next, give the dust canister a thorough shake to remove any remaining particles or dust.
- Using a damp microfiber cloth, wipe the inside of the dust canister to remove any stubborn dirt or residue. Avoid submerging the canister in water or using cleaning chemicals as these can damage the components.
- Allow the dust canister to air dry completely before reassembling it. This ensures that no moisture remains, preventing mold or other forms of damage.
By regularly cleaning the dust canister, you ensure that your vacuum maintains optimal suction power and efficiency. It is recommended to clean the dust canister at least once every six months or as needed, based on usage and debris accumulation7.
Now that you know how to clean the dust canister of your vacuum cleaner, you can ensure its longevity and performance. Proper vacuum maintenance is crucial for efficient cleaning and maintaining a clean home89.

6 Pack Vacuum Filter Replacement Kit for Dyson V7, V8 Animal and V8 Absolute Cordless Vacuum, 3 Post Filter, 3 Pre Filter, Replaces Part # 965661-01 & 967478-01
PERFECT FIT – These are designed for Dyson V7 Animal, V7, V8 Absolute Vacuums. The post filter is…
As an affiliate, we earn on qualifying purchases.
As an affiliate, we earn on qualifying purchases.
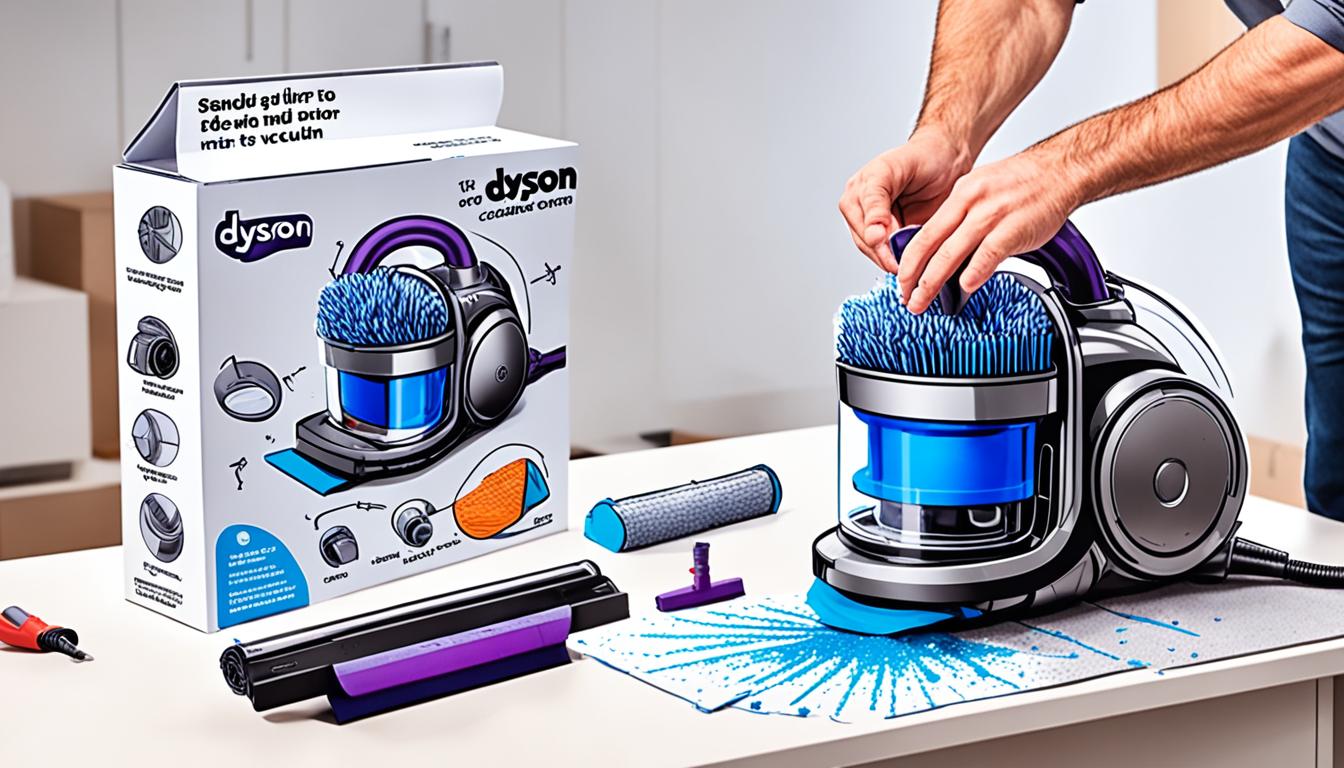
Cleaning and Replacing the Filter
Proper maintenance and care of your vacuum cleaner include regular cleaning and replacement of the filter. The filter plays a crucial role in trapping dust, allergens, and other particles, ensuring the efficient operation of your vacuum cleaner and maintaining indoor air quality. Here are some essential tips to help you clean and replace the filter to keep your vacuum cleaner performing at its best.
Start by removing the filter from your Dyson machine. Depending on the vacuum model, the filter may be located in the dust canister or near the motor. Refer to your vacuum’s user manual to locate and access the filter. Once removed, tap the filter lightly to remove any loose dust and debris.

Next, wash the filter with cold tap water. Gently rub it with your hands to dislodge dirt and grime. Avoid using detergents or cleaners that can damage the filter or leave residue behind. Fill a basin or sink with warm tap water and submerge the filter. Shake it firmly to remove the dirt. Repeat this process until the water runs clear, indicating that the filter is clean.
After washing, it’s crucial to let the filter dry completely before reinstalling it in the vacuum cleaner. Place the filter in a well-ventilated area and allow it to air dry naturally. Avoid using heat sources or direct sunlight, as they can cause the filter to warp or degrade. Depending on the filter type and environmental conditions, drying may take several hours or overnight. Ensure the filter is completely dry before reinserting it into the vacuum cleaner.
10 Vacuum filters in high traffic areas may need to be cleaned monthly, while for most homes, cleaning the vacuum filter at least every three months is recommended. Regular cleaning of the filter improves suction power and prevents dust and allergens from being recirculated into the air.
Some vacuum filters, such as pleated paper filters, have a scheduled replacement cycle and are considered disposable by manufacturers. Once they reach the end of their lifespan, it’s essential to replace them with new filters to maintain optimal performance. On the other hand, pleated synthetic fiber filters can be rinsed with water a few times to remove dust, extending their usability.
11 HEPA filters, designed to trap 99.97 percent of particulates larger than 0.3 microns, are highly efficient in capturing allergens, pet dander, dust mites, and pollen. These filters should not be washed or scrubbed but replaced with new filters as required by the manufacturer.
When it comes to maintaining the longevity of HEPA filters, following the manufacturer’s recommendations is crucial. Some HEPA filters can be rinsed with plain, cool water to flush out dust, extending their lifespan and effectiveness.
| Types of Vacuum Filters | Cleaning Method | Replacement Schedule |
|---|---|---|
| Paper Vacuum Filters | Disposable or washable | Vary based on usage |
| HEPA Vacuum Filters | Replace with new filters | As per manufacturer recommendations |
| Foam Vacuum Filters | Washable | Replace when necessary |
It’s important to note that different types of vacuum filters may have specific cleaning methods and replacement schedules recommended by manufacturers. Following these guidelines helps ensure optimal filter performance and prolongs the lifespan of your vacuum cleaner.
12 Regular cleaning and maintenance of your vacuum’s filter contribute to a healthier indoor environment by reducing the dissemination of mold and bacteria. A study published in the journal Applied and Environmental Microbiology in 2013 revealed that vacuum cleaners that haven’t been properly cleaned can spread these harmful substances inside homes.
By incorporating these vacuum maintenance and cleaning tips into your routine, you can keep your vacuum cleaner operating efficiently, increase its lifespan, and maintain a cleaner, healthier home.

ilovelife Replacement Brush Roll Bar DC65,DC66 Brushroll Spinner Brushes Compatible with Dyson DC65, DC66 and UP-13 Vacuum Cleaner
Compatible: Fits the following models, V6 Total Clean V6 Absolute V6 Motor head V6 Motor head exclusive V6,…
As an affiliate, we earn on qualifying purchases.
As an affiliate, we earn on qualifying purchases.
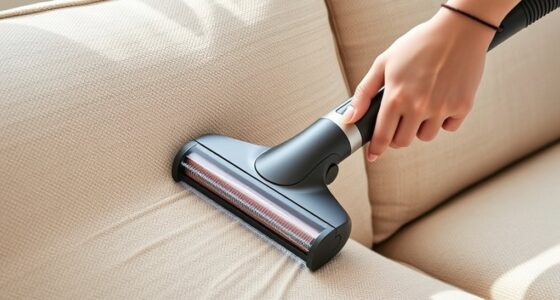
Cleaning the Brush Roll and Attachments
Keeping your Dyson vacuum’s brush roll and attachments clean is crucial for maintaining its performance and maximizing its lifespan. Over time, the brush roll and attachments can accumulate dirt, hair, and debris, affecting suction and overall cleaning efficiency. Follow these steps to ensure your brush roll and attachments are properly cleaned:
Cleaning the Brush Roll
- Start by unplugging your Dyson vacuum and turning it off.
- Take a pair of stainless steel hair cutting scissors, as they are reported to work best for cleaning the brush roll due to their thinner blade that is easier to slide under the hair13.
- Inspect the brush roll for any tangled hair or debris.
- Carefully cut along the bar of the brush roll to remove any tangled hair or debris. Be sure not to damage the bristles.
- Use your hands or a brush to remove any loose dirt or debris from the brush roll.
- If necessary, use a seam ripper for sewing as an effective tool to remove any debris stuck under the end cap of the roller brush13.
- Cleaning the brush roll is a critical step that significantly improves your vacuum cleaner’s performance, indicating a potential increase in suction power after completion13.
Cleaning the Attachments
- Start by unplugging your Dyson vacuum and turning it off.
- Remove any immediate dust and trapped hairs from the attachments by hand.
- Wipe down the attachments with a damp microfiber cloth to remove any remaining dirt or debris.
- Ensure the attachments are completely dry before reattaching them to the vacuum.
By regularly cleaning the brush roll and attachments of your Dyson vacuum, you can maintain its optimal performance and enhance its vacuuming efficiency. Remember to be patient during the cleaning process, as it may take some time to remove all the debris from the brush roll13. Cleaning the brush roll is a critical step that significantly improves the vacuum cleaner’s performance, indicating a potential increase in suction power after completion13.

Vacuum Maintenance Schedule
| Maintenance Task | Frequency |
|---|---|
| Cleaning the brush roll | About every 1-3 months |
| Cleaning or replacing filters | As recommended by the manufacturer, usually every 2 times per year for HEPA or disposable filters14 |
| Inspecting the vacuum belt | Monthly |
| Deep cleaning the vacuum’s cannister | As needed, especially for stick vacuums with smaller dust canisters14 |
Regularly cleaning the brush roll and attachments, along with performing other recommended maintenance tasks, such as cleaning or replacing filters and inspecting the vacuum belt, can help prevent issues like decreased suction power or sudden shut-offs15. Following a vacuum maintenance schedule can save you on repair costs and ensure the longevity and effectiveness of your Dyson vacuum15.

Upgraded Dust Bin Compatible with Dyson V11 V15 SV14 SV15 SV22 Vacuum Cleaner Canister, Vacuum Bin Replacement for Part no. 970050-01 and Part no. 965443-01
Compatible Models: This is the bin compatible with Dyson V11 V15 SV14 SV15 SV22 vacuum cleaner(EXCEPT V11 Small…
As an affiliate, we earn on qualifying purchases.
As an affiliate, we earn on qualifying purchases.
Checking and Clearing Hose Blockages
If your Dyson vacuum is experiencing a loss of suction, it may be due to a blockage in the hose. To resolve this issue, follow these steps:
- Remove the hose from the vacuum and inspect it for any blockages or obstructions. Look for debris such as dirt, hair, or small objects that may be blocking the airflow. If you find any blockages, gently remove them using your fingers or a long, thin object like a mop handle. Make sure to handle the hose carefully to avoid causing any damage.
- If the blockage is particularly stubborn, you can try soaking the hose in warm water combined with white distilled vinegar. This solution can help to dislodge and break down any caked-on dirt or debris. After soaking, rinse the hose thoroughly and allow it to dry completely before reattaching it to the vacuum cleaner.
By checking and clearing any hose blockages, you can restore proper suction to your Dyson vacuum and ensure its optimal performance.
Wiping Down the Exterior
In addition to cleaning the internal components, it’s important to properly maintain the exterior of your vacuum to ensure longevity and optimal performance. Wiping down the exterior not only keeps your vacuum looking clean but also helps prevent the accumulation of dirt and grime that can affect its functionality.
To effectively wipe down the exterior of your vacuum, follow these vacuum cleaner care tips:
- Use a damp microfiber cloth: Start by dampening a microfiber cloth with water. Avoid using excessive moisture that could damage the electrical components of the vacuum. Microfiber cloths are gentle on surfaces and effectively remove dust, dirt, and fingerprints.
- Wipe the handle and other surfaces: Begin wiping the handle of the vacuum, paying attention to any textured grips or buttons. Then, move on to the other surfaces, such as the body, wheels, and attachments. Make sure to reach all areas of the exterior.
- Pay attention to hidden areas: Don’t forget to clean hard-to-reach areas, such as crevices or corners, where dust and debris may accumulate. Use the cloth to gently sweep away any dirt or particles.
Regularly wiping down the exterior of your vacuum not only enhances its appearance but also contributes to its overall vacuum maintenance. By keeping the exterior clean, you minimize the risk of dirt and dust entering the internal components, which can eventually cause performance issues17.
Remember to consult the manufacturer’s instructions for any specific cleaning recommendations for your particular vacuum model. With proper vacuum cleaner care, including regularly wiping down the exterior, you can ensure that your vacuum operates efficiently and effectively for years to come17.

Proper Vacuum Storage
When it comes to vacuum maintenance and care, proper storage is crucial to ensure the longevity and performance of your vacuum cleaner. By following these vacuum storage solutions, you can keep your vacuum in optimal condition for years to come.
Considerations for Vacuum Storage
Before deciding where to store your vacuum cleaner, there are a few important factors to consider. According to a comprehensive guide on vacuum storage18, these considerations can be categorized into three sections:
- Size and Type of Vacuum Cleaner: Statistics on the size and type of vacuum cleaner are emphasized in determining the most suitable storage locations18.
- Frequency of Use: If you frequently use your vacuum cleaner, it should be easily accessible for convenience18.
- Living Space: For those living in small apartments, the guide provides suggestions for storing a vacuum cleaner in limited spaces18.
Storage Ideas for Vacuum Cleaners
Fortunately, there are various storage solutions available to accommodate different living situations and vacuum types. Here are some options to consider:
- Wall-mounted racks: Excellent space-saving storage solutions for small homes or apartments19.
- Compact cabinets or storage chests: Ideal for tight spaces19.
- Built-in closets or storage nooks: Recommended for larger homes with dedicated utility spaces19.
- Under-stair storage compartments: Often-overlooked spaces that can be repurposed for vacuum cleaner storage19.
Additionally, the guide provides specific recommendations for storing different types of vacuum cleaners. If your vacuum cleaner doesn’t have its own storage box, suggestions are given to ensure proper storage without risking damage18. For cordless vacuum cleaners, the guide shares tips to extend their lifespan such as charging the batteries when they’re around 20-30% left20. Furthermore, the guide also includes ideas for storing upright vacuums and robotic vacuums, including storage boxes and purchasing storage bags18.
Best Practices for Vacuum Storage
Regardless of the storage solution you choose, there are some best practices to keep in mind:
- Keep the vacuum in a clean, dry place to prevent damage caused by dust, moisture, or extreme temperatures20.
- Neatly wrap the cord around cord hooks to prevent tangles and internal wire damage20.
- Consider using a dust cover to keep dust particles at bay and protect the vacuum cleaner20.
- Ensure the vacuum cleaner is completely dry before storing it to prevent corrosion on internal parts20.
- Regularly check the vacuum cleaner for dust buildup and moisture to prevent major issues20.
By following these vacuum storage tips, you can maintain the cleanliness and efficiency of your vacuum cleaner, ultimately maximizing its lifespan and performance.

Proper vacuum storage is essential for maintaining the longevity and performance of your vacuum cleaner.
Recommended Vacuum Cleaning Frequency
Knowing how often to clean your vacuum is crucial for maintaining its performance and prolonging its lifespan. The recommended cleaning frequency depends on various factors, including usage patterns and the specific areas you’re vacuuming.
Cleaning Frequency Guidelines
Here are some general guidelines to help you determine how often you should clean your vacuum:
- High-Traffic Areas: For areas with heavy foot traffic such as kitchens and living rooms, it is recommended to vacuum at least twice a week21. This frequency helps prevent the buildup of dust and allergens, ensuring a clean and healthy environment.
- Less Frequent Areas: Bedrooms and offices, which typically have less foot traffic, can be vacuumed once a week to maintain cleanliness21.
- Hardwood and Synthetic Floors: It is advisable to vacuum hardwood, synthetic wood, and laminate floors on a weekly basis to preserve their appearance and longevity21.
- Fabrics, Carpets, and Rugs: To remove deep-seated dust, dander, and pollutants, it is recommended to vacuum fabrics, carpets, and rugs at least twice a week21.
- Pets: If you have pets, such as cats or dogs, it is essential to vacuum more frequently to manage pet hair and dander. Vacuuming every two to three days helps minimize allergens and keep your home clean21.
Additional Factors to Consider
While these guidelines provide a good starting point, it’s important to adjust your cleaning frequency based on specific circumstances. Factors to consider include:
- Homes with Allergic Individuals: If any family members have allergies, more frequent vacuuming may be necessary to maintain indoor air quality and minimize allergic reactions21.
- Individual Living Situations: Individuals who live alone tend to have less foot traffic in their homes. In such cases, vacuuming at least once a week is typically sufficient22.
- Personal Preference: Some individuals may prefer to vacuum more frequently to ensure a consistently clean environment, while others may find less frequent vacuuming sufficient for their needs22.
By following these recommendations and adapting them to your specific circumstances, you can effectively maintain your vacuum cleaner’s performance and keep your home clean and fresh.
Conclusion
In conclusion, proper vacuum maintenance and care are crucial for keeping your Dyson vacuum cleaner performing at its best. By following these vacuum cleaning tips and storage solutions, you can ensure that your vacuum remains in top shape and continues to provide effective cleaning for years to come.
To maintain optimal performance, it is recommended to clean or replace your vacuum cleaner filters every 3-6 months23. Additionally, remember to check and clean the base plates and brushes after each use to prevent clogs and decreased suction power23. Empty the dust containers after every use or when they are half full2324, and replace the dust bags when they are full or according to the manufacturer’s guidelines23. Regularly check and clean the vacuum cleaner hoses and attachments, especially after use on upholstery or hard-to-reach areas2324.
It is also important to clean the dust canister every time it’s full or after every use25. Clean the filters monthly, or twice a month for pet owners25. Additionally, clean the brush roll every two months25. If you notice a reduction in suction power, clean the hose as needed25. Weekly cleaning of the vacuum cleaner’s exterior is recommended to prevent dust and dirt build-up25.
By following these simple steps and utilizing the maintenance tips mentioned, you can ensure that your Dyson vacuum cleaner remains durable, efficient, and long-lasting. Regular cleaning and unclogging, as well as replacing parts when necessary, will help maintain optimal suction power and efficiency25. Don’t forget to explore the variety of vacuum cleaner accessories available from brands such as Electrolux Singapore, including filters, brushes, and crevice nozzles24. With proper care and maintenance, your Dyson vacuum will continue to provide clean and fresh indoor air for your home and family.