To make a simple vacuum cleaner, start by gathering materials like an electric motor, filter system, collection bag, and sturdy housing. Secure the motor and connect it to a compatible fan to create suction. Incorporate a HEPA filter to trap dust and allergens effectively. Assemble everything tightly, ensuring no leaks. Test the suction by holding paper near the nozzle. If you encounter issues, check for clogs or power connections. Regular maintenance is essential to keep it working efficiently. Want to know more about each step and tips for troubleshooting? There's plenty more to explore!
Key Takeaways
- Gather necessary materials including an electric motor, HEPA filter, collection container, sturdy housing, and flexible tubing with a nozzle.
- Assemble the vacuum chamber by sealing the lid tightly and installing the HEPA filter to ensure effective dust capture.
- Attach the motor securely, connecting power leads to an accessible switch for safety and efficient suction performance.
- Implement a filtration system with easy-to-replace filters and regular maintenance to enhance air quality and suction power.
- Test suction strength by performing a suction test with lightweight paper and checking for any leaks in the system.

4 Pack HEPA Vacuum Replacement Filters Compatible with AFNOP Acevac11 Cordless Vacuum Cleaner, with 4 Pack Sponge Sets
Includes 4 HEPA replacement filters and 4 pieces of sponge sets, offering great value for uninterrupted cleaning. Long-lasting…
As an affiliate, we earn on qualifying purchases.
As an affiliate, we earn on qualifying purchases.
Required Materials
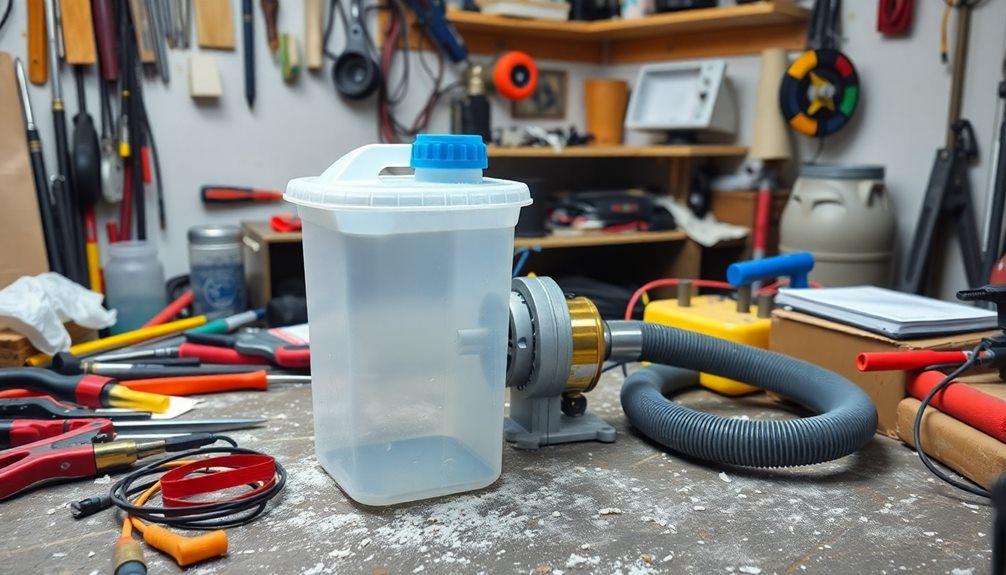
To build your own vacuum cleaner, you'll need a few essential materials. First, get a small electric motor with a power rating between 500 and 1000 watts. This motor creates the suction necessary for your vacuum to function effectively.
Next, you'll want a filter system, ideally a HEPA filter, to trap dust and allergens while allowing air to flow through. This is vital for maintaining a clean environment, especially if you're sensitive to allergens.
You'll also need a collection bag or container to hold the debris. Depending on your design preference, this can be made from cloth or plastic. Choose a material that's durable and easy to empty.
For the structure, a sturdy housing or casing is essential. It should be lightweight while effectively containing all components, so consider using plastic or metal.
Lastly, don't forget the flexible tubing and an attachment nozzle. These will help you direct airflow and reach various surfaces, ensuring effective cleaning.
With these materials gathered, you're all set to start creating your own vacuum cleaner!

116336-01 116336-00 120V Vacuum Cleaner Motor, 2 Stage Vacuum Blower Motors, 5.7 Inch, Includes Gasket 566 Replacement Vacuum Motor Parts 56207802, 44903A, 56207802, 380001, 296439,CAV26,14800
【 Replace Multiple Models】 Vacuum motor fits a wide range of models, Including 116336-0,116336-01,56207802, 44903A, 380001, 38001, 296439,…
As an affiliate, we earn on qualifying purchases.
As an affiliate, we earn on qualifying purchases.
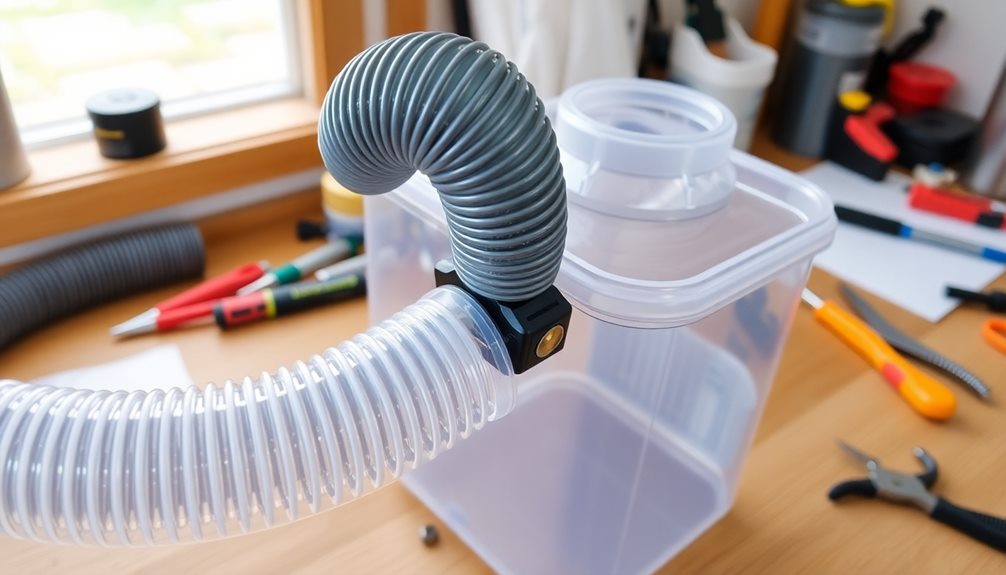
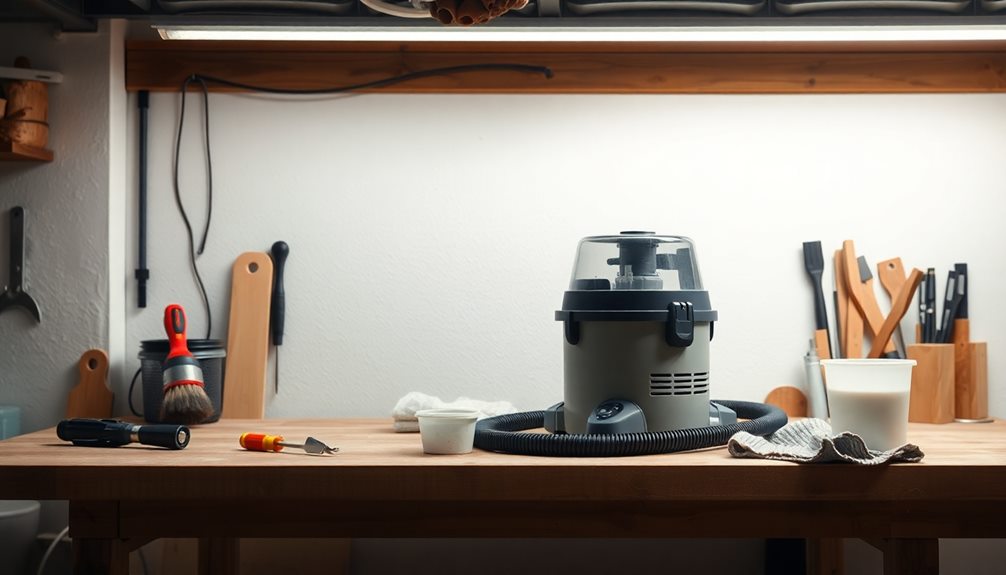
Assembling the Vacuum Chamber
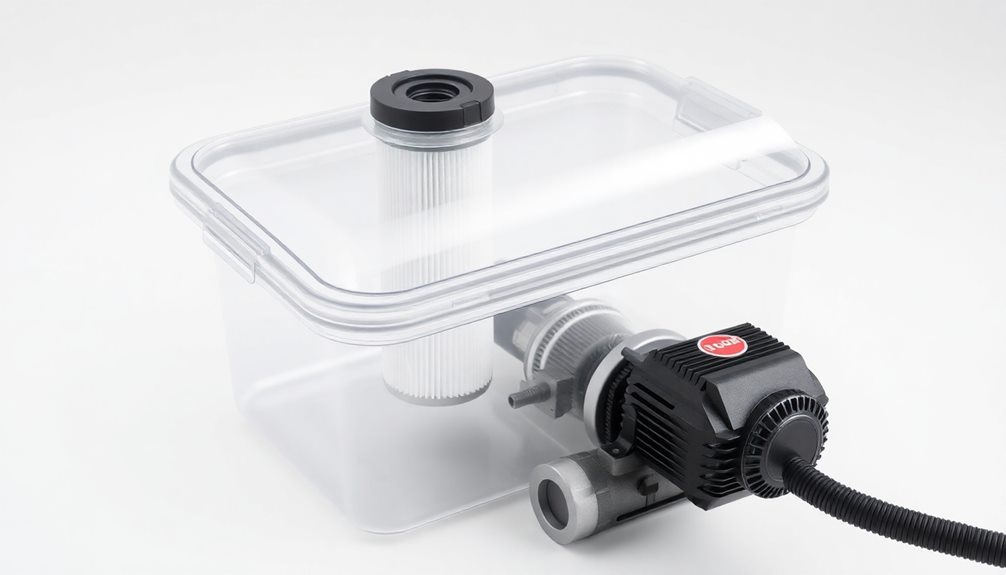
As you begin assembling the vacuum chamber, choose a sturdy container that can withstand the pressure changes during operation. This is vital for guaranteeing your vacuum cleaner performs effectively.
Once you have your container, follow these steps to create a reliable vacuum chamber:
- Seal the lid tightly: Prevent air leaks by using a rubber gasket or sealant to achieve an airtight fit.
- Install a vacuum pump outlet: Securely attach this to the chamber's lid, making sure it has a one-way valve to maintain vacuum integrity.
- Incorporate a HEPA filter: This will effectively capture fine dust particles and improve air quality during operation.
- Check all connections: Confirm they're tight to avoid any potential leaks during use.
- Inspect for weak points: Carefully examine the chamber to identify any areas that might compromise your vacuum cleaner's performance.

YaeTek Pneumatic 4.2CFM Air Operated Vacuum Pump A/C Air Conditioning System Tool Auto
Easy to Operate – Just connect a continuous air supply (80psi) to the "Air Input" fitting (standard 1/4"…
As an affiliate, we earn on qualifying purchases.
As an affiliate, we earn on qualifying purchases.
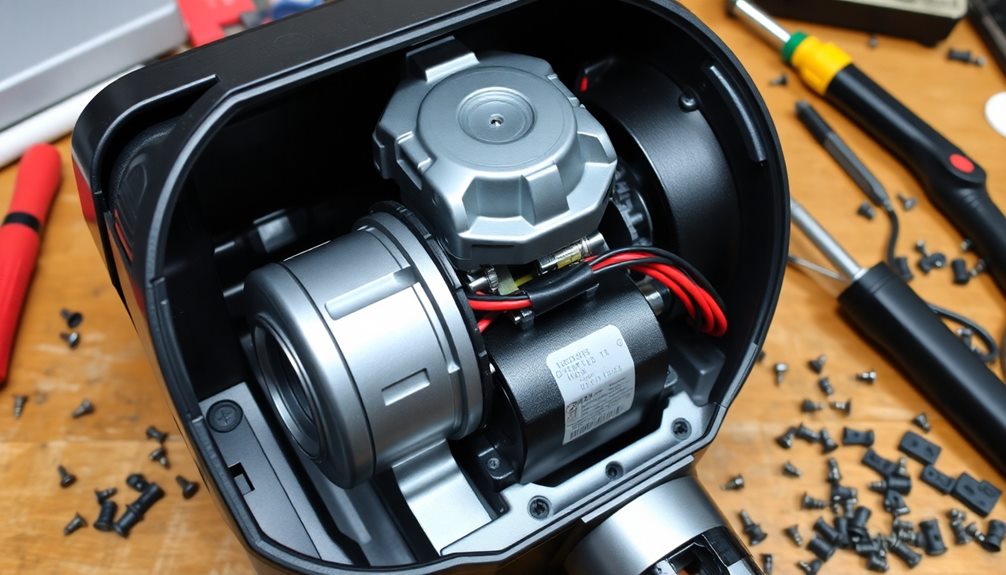
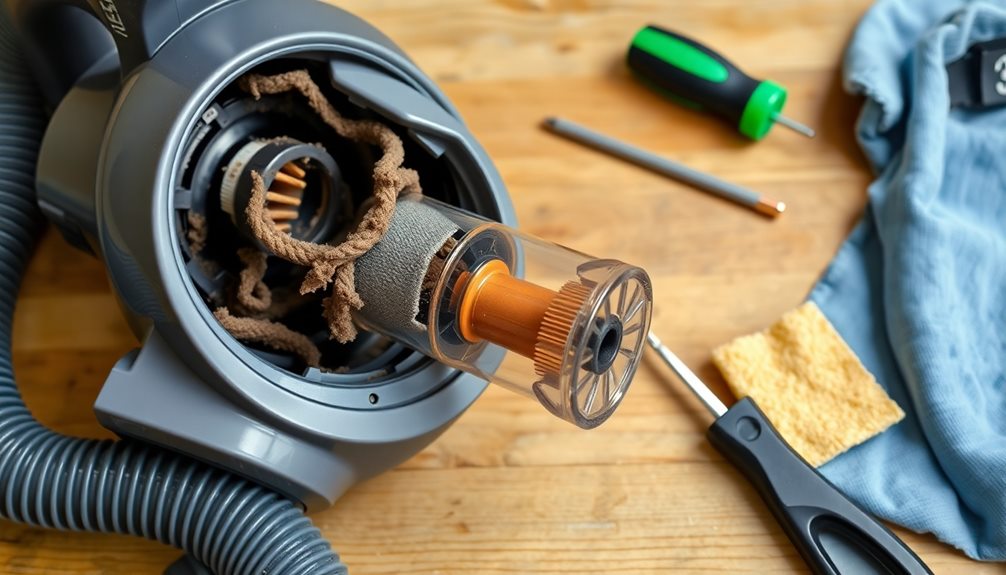
Attaching the Motor
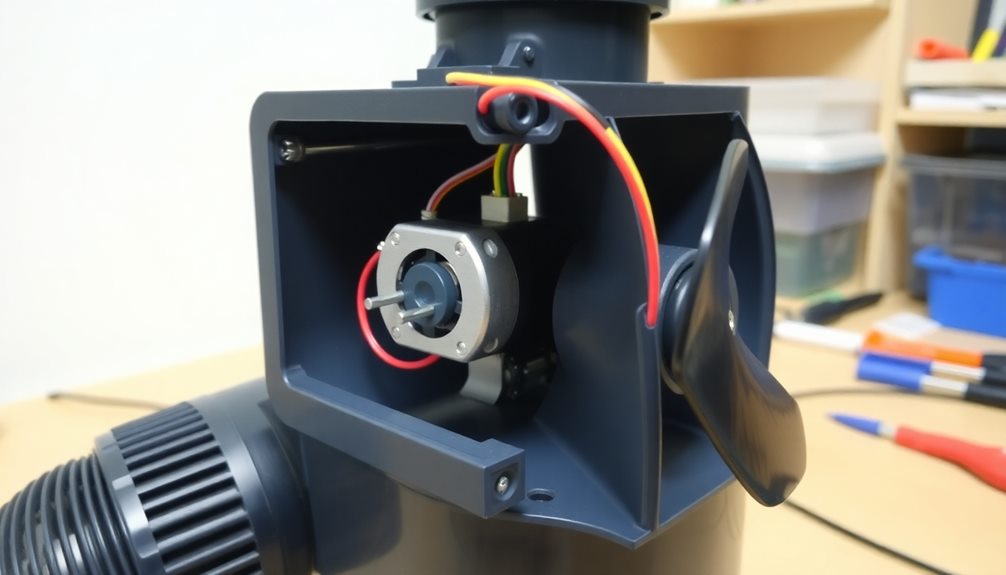
With the vacuum chamber assembled, the next step is attaching the motor, which plays an essential role in creating suction. First, verify that your motor is compatible with your design. Typically, a direct current (DC) motor rated between 12V to 24V works best for peak performance.
Once you've confirmed compatibility, secure the motor to the vacuum cleaner body using screws or brackets. This step is fundamental to minimize vibrations during operation, so make sure it's firmly mounted. Next, connect the motor's power leads to an easily accessible switch for convenient operation and safety.
Align the motor with the suction housing's inlet to guarantee efficient airflow and suction capability. Before final assembly, it's wise to test the motor's functionality. Power it on and listen for any unusual noises or vibrations that could indicate issues.
Here's a quick overview of motor attachment considerations:
| Step | Description |
|---|---|
| Motor Compatibility | Confirm the motor is 12V-24V DC |
| Secure the Motor | Use screws/brackets for stability |
| Test Functionality | Check for noise/vibrations |
Completing these steps will set the foundation for a well-functioning vacuum cleaner.

Sanitaire Upright Vacuum Cleaner Fan 20-8620-08
FITSSC684F,SC886E,SC887B,SC888G,SC888H,SC899E
As an affiliate, we earn on qualifying purchases.
As an affiliate, we earn on qualifying purchases.
Connecting the Fan
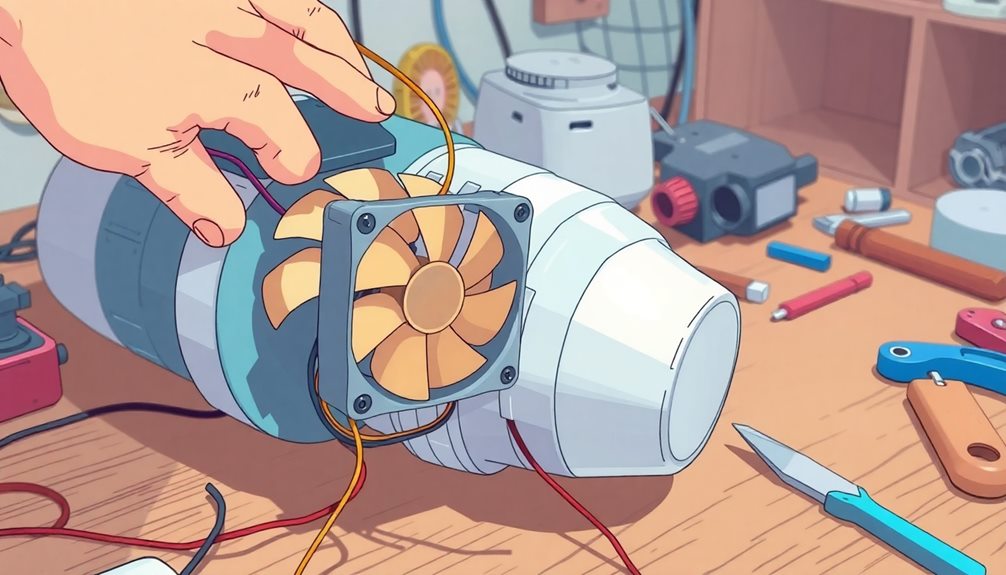
Now that you've attached the motor, it's time to connect the fan.
First, make certain you select a fan that's compatible with your power source, and then focus on proper wiring techniques to guarantee everything runs smoothly.
Secure those connections to prevent any shorts, and you'll be on your way to effective vacuum performance.
Selecting the Right Fan
Selecting the right fan is vital for guaranteeing your vacuum cleaner operates effectively. A fan that provides strong suction is essential, as well as one that can withstand continuous use without overheating.
Additionally, reflect on how other devices, such as air purifiers for allergies, utilize fan technology to enhance air quality; this can give you insights into ideal fan performance.
Here are some key factors to think about when choosing the right fan:
- Power Rating: Look for a fan rated between 100 to 200 watts for adequate suction.
- Continuous Operation: Choose a fan designed for continuous use to prevent overheating during long cleaning sessions.
- Secure Connection: Confirm the fan is securely connected to your vacuum cleaner body to maintain airtight seals, maximizing suction efficiency.
- Wiring and Connectors: Use wiring and connectors rated for your fan's voltage and current to avoid any electrical hazards.
- Airflow Direction: Position the fan to direct airflow towards the collection chamber, enhancing debris pickup.
Proper Wiring Techniques
When connecting the fan of your vacuum cleaner, it's vital to guarantee safety and reliability in your wiring techniques. First, make sure the power supply is completely disconnected to avoid any risk of electrical shock.
Once you're ready, you'll need insulated wire connectors to securely attach the fan's wires to the power source, assuring a stable and safe connection.
Strip about 1/2 inch of insulation from the ends of both the fan wires and the corresponding power wires. This will help create a proper connection.
Next, connect the positive wire from the power supply to the positive terminal of the fan, and the negative wire to the negative terminal. Remember to follow the manufacturer's color coding, which is usually red for positive and black for negative.
After you've made the connections, it's imperative to insulate the exposed wires. Use electrical tape or heat shrink tubing to cover them, which will help prevent any short circuits.
Implementing the Filtration System

A well-designed filtration system is essential for your vacuum cleaner to operate efficiently and effectively. To achieve this, consider the following elements:
- Choose a suitable filter material: HEPA filters capture up to 99.97% of particles as small as 0.3 microns, guaranteeing excellent air purification.
- Design for easy replacement: Make sure your filter system allows for easy filter changes every 3 to 6 months, depending on your usage.
- Incorporate a pre-filter: This captures larger debris, extending the lifespan of your main filter and reducing maintenance frequency and costs.
- Seal the filtration system properly: Prevent air leaks within the vacuum cleaner to maintain suction power and enhance cleaning efficiency.
- Regularly maintain your filters: Clean or replace them as per the manufacturer's recommendations to keep your vacuum operating effectively against dust and allergens.
Implementing these strategies won't only improve the performance of your vacuum cleaner but also guarantee a healthier environment.
Setting Up the Hose
How do you guarantee your vacuum cleaner's hose is set up correctly for peak performance? First, select a flexible hose that fits your vacuum cleaner's inlet size, typically between 1.25 to 2.5 inches in diameter. Once you have the right hose, securely attach it to the vacuum body by aligning it with the inlet and twisting or pushing until it clicks into place.
Before you start cleaning, check for any kinks or blockages in the hose, as these can greatly reduce suction power and efficiency. If your vacuum comes with multiple hose attachments, choose the appropriate one based on the surface you're cleaning to maximize effectiveness.
To help you keep track of your hose setup, here's a quick reference table:
| Step | Action | Note |
|---|---|---|
| 1. Select the Hose | Confirm compatibility with the inlet | 1.25 to 2.5 inches |
| 2. Attach Securely | Align and twist/push until it clicks | Double-check the fit |
| 3. Inspect for Blockages | Look for kinks and obstructions | Clear any found obstructions |
| 4. Choose Attachments | Pick according to cleaning surface | Use specific attachments |
| 5. Check for Damage | Inspect for cracks or wear | Replace if necessary |
Regularly inspect the hose to maintain peak performance.
Powering the Vacuum
After confirming your vacuum cleaner's hose is properly set up, the next step involves powering the unit effectively. To do this, you'll need to select the right components that will provide the necessary energy for peak performance.
Here are some key points to take into account:
- Choose a DC motor: Look for one with a voltage rating of 12V to 24V, ideal for household vacuums.
- Match your power source: If you're using a battery or AC adapter, verify it meets the motor's voltage requirements to avoid damage.
- Incorporate a switch: This allows you to control the power flow easily and adds a layer of safety during operation.
- Select the right power cord: Use an appropriate gauge wiring to handle the current load, especially important for corded models to prevent overheating.
- Opt for rechargeable batteries: If you prefer a battery-operated vacuum, lithium-ion batteries offer longer run times and are more efficient than traditional alkaline ones.
Testing for Suction
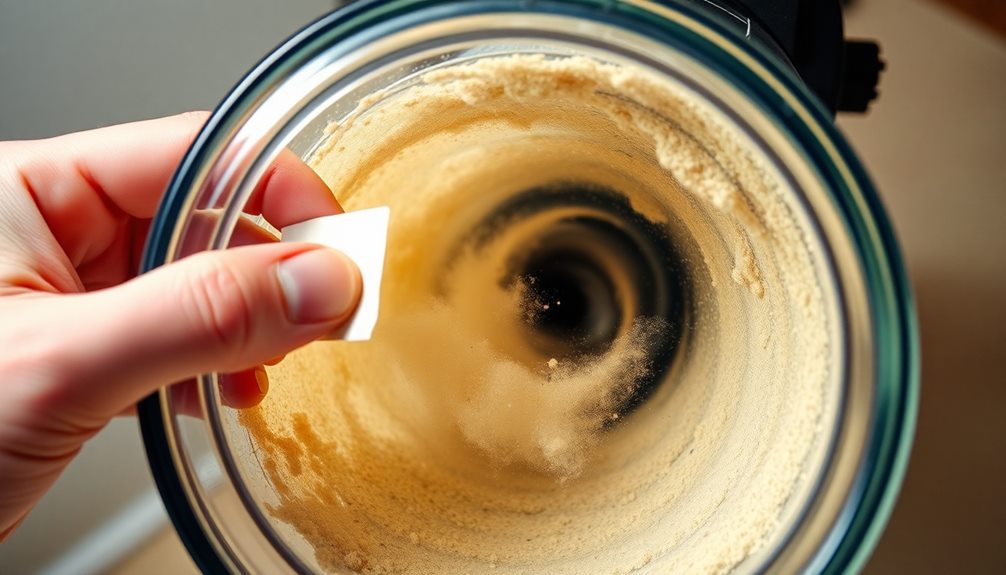
Wondering if your vacuum cleaner has the power it needs? Start by holding a piece of lightweight paper or cloth near the nozzle. If it gets drawn in, that's a great sign of effective suction. For a more precise measurement, use a vacuum gauge to check the vacuum pressure. You should aim for at least 70 inches of water lift to guarantee top-notch performance.
Next, check for any suction leaks. Cover the nozzle with your hand; if you feel a strong pull, your cleaner has good sealing and suction integrity.
Another practical test is to vacuum a small, known amount of debris, like sand or flour. This will help you verify how well your cleaner picks up particles.
Don't forget about maintenance! Regularly inspect and clean the filters and brush rolls. Clogged components can greatly reduce suction efficiency, making your hard work for naught.
Troubleshooting Common Issues
When your vacuum cleaner starts acting up, it can be frustrating, but many issues are easy to troubleshoot.
Regular maintenance, such as checking the vacuum cleaner performance metrics like suction power and filtration systems, can prevent many common problems.
Here are some common issues and quick fixes that can get your vacuum back in working order:
- Lack of suction: Check for clogs in the hose or filters. Clean or replace them if necessary.
- Full dust bag or canister: A sudden loss of suction might mean it's time to empty it. Follow the manufacturer's guidelines for regular maintenance.
- Unusual noises: Inspect for foreign objects stuck in the brush roll or hose. Removing these can restore normal function.
- Overheating: If your vacuum feels hot, give it a break. Allow it to cool down before using it again to prevent damage.
- Won't turn on: Make sure it's plugged in properly, check the power outlet, and look for any visible damage on the power cord.
Maintenance and Care Tips
To keep your vacuum cleaner running smoothly, establish a regular cleaning schedule.
Make it a habit to inspect its components frequently, as this will help you spot any issues before they become major problems.
Additionally, using a vacuum equipped with a HEPA filter can enhance the air quality in your home, as they're designed to trap allergens effectively.
Taking these steps guarantees your vacuum maintains peak performance and lasts longer.
Regular Cleaning Schedule
Establishing a regular cleaning schedule is essential for maintaining your vacuum cleaner's performance and longevity. By setting a consistent routine, you'll guarantee your vacuum is always ready to tackle dirt and debris effectively.
Here's a simple guideline to follow:
- Vacuum high-traffic areas at least once a week.
- Clean less frequented areas every two weeks to maintain overall cleanliness.
- Change or clean the vacuum filter every 1-3 months, depending on how often you use it.
- Empty the dust container or bag after every use or when it's two-thirds full to prevent clogs.
- Inspect and clean the vacuum brush roll monthly to remove hair and debris that can hinder performance.
Additionally, don't forget to schedule a thorough maintenance check every 6-12 months. This includes inspecting hoses for blockages and guaranteeing all components function properly.
Inspect Components Frequently
Regular inspections of your vacuum cleaner's components are vital for ensuring it operates at peak performance. Start by checking the filter for clogs or dirt build-up. A clean filter boosts suction and extends your vacuum's lifespan.
Don't forget to inspect the brush roll; tangled hair and debris can strain the motor and reduce cleaning efficiency. Clean it regularly to keep it performing well.
Next, examine the power cord for any fraying or damage. This is imperative for safety and helps prevent electrical hazards while you use the vacuum. Be proactive and replace the cord if necessary.
You should also check the vacuum bags or dust containers frequently. Empty or replace them when they're about two-thirds full to maintain ideal suction.
Frequently Asked Questions
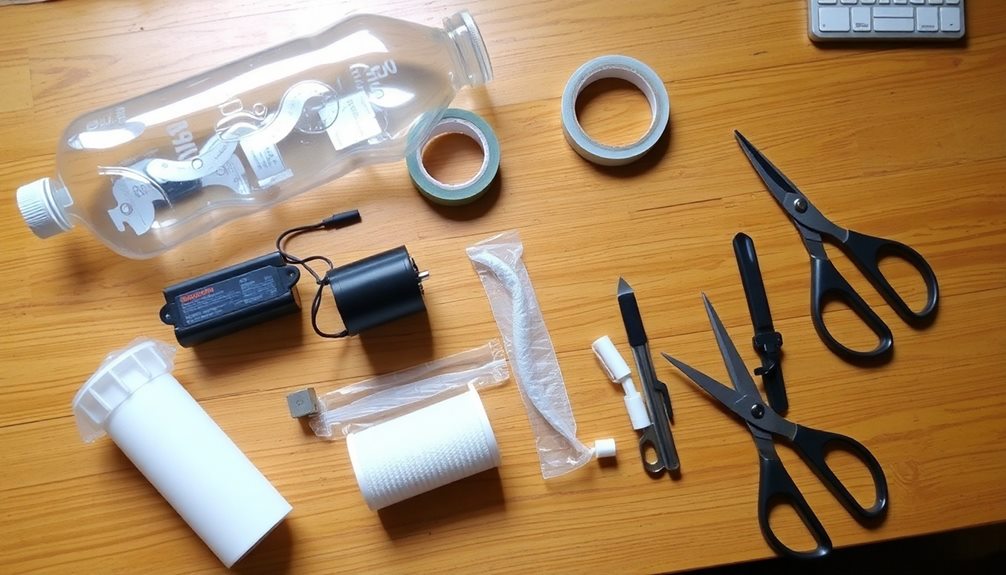
How to Make a Simple Vacuum Cleaner at Home?
To create a simple vacuum cleaner at home, gather materials like a small motor and a plastic bottle. Cut holes for airflow, secure connections, and add a filter to trap dust. You're ready to clean!
What Is the Easiest Way to Create a Vacuum?
Did you know that a vacuum can reduce air pressure by over 90%? To create a vacuum easily, you can use a simple syringe by pulling the plunger back, effectively demonstrating the principle of air pressure differences.
How Do You Make a Vacuum With a Water Bottle?
To make a vacuum with a water bottle, cut a small hole in the cap for a straw, add water to trap debris, and create suction by sucking air or using a pump.
How to Make a Vacuum Cleaner With a Motor and Battery?
To make a vacuum cleaner with a motor and battery, you'll need to select a suitable motor, connect it to a rechargeable battery, and create a sealed housing to maximize suction while ensuring safety and efficiency.
Conclusion
In building your simple vacuum cleaner, you've crafted a vessel to chase away the dust demons that lurk in every corner. Just like a brave knight polishing their armor, regular maintenance keeps your creation ready for battle against the cluttered chaos of life. As you wield this mighty tool, remember that every dust particle defeated is a small victory, paving the way for a cleaner, more serene kingdom. So, march forth and conquer the mess!