To spot air leaks in your vacuum seal, check the seal strip for dirt, tears, or damage, and clean it with a damp cloth. Guarantee your bags are cut straight, wrinkle-free, and properly aligned for a snug seal. Inspect your vacuum channel and valve for debris or obstructions that might cause leaks. Replacing worn gaskets and testing with paper can help find problem spots. Keep these tips in mind to maintain airtight freshness and uncover simple fixes along the way.
Key Takeaways
- Inspect and clean the sealing strip regularly to remove dirt, crumbs, and residue that may cause leaks.
- Ensure bags are properly aligned, straight-cut, wrinkle-free, and compatible with your vacuum sealer.
- Check and clean the vacuum channel and valve to prevent debris buildup that could impede air removal.
- Examine gaskets and rubber seals for cracks, tears, or brittleness; replace damaged seals promptly.
- Perform leak tests using a piece of paper or dollar bill to detect air leaks and address issues immediately.

A vacuum seal is only as effective as its ability to stay airtight, but air leaks can compromise its performance without you realizing it. That’s why regular vacuum seal maintenance is essential. If your vacuum sealer isn’t properly sealed, the food inside can spoil faster, and your efforts to preserve freshness go to waste. The key is to identify and fix common leak sources before they become a bigger problem. You might not notice a leak at first, but over time, it becomes apparent through decreased suction or spoiled contents.
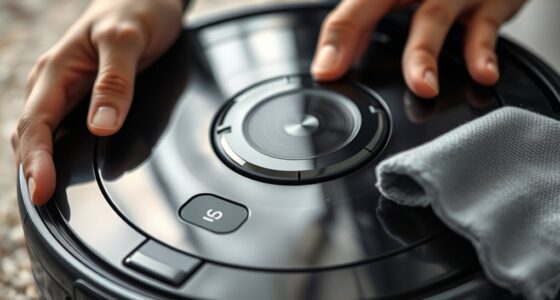
Start by inspecting the seal bar and sealing area. Dirt, crumbs, or residue on the sealing strip can prevent a proper seal, so wipe it clean with a damp cloth regularly. Sometimes, food particles or debris can cause small gaps that let air seep in. If the seal isn’t smooth or is damaged, it won’t lock securely. Check for cracks or tears in the sealing strip, and replace it if necessary. Also, look at the bag or pouch itself. If it’s not properly aligned or if the edges aren’t free of wrinkles or tears, the vacuum won’t hold. Be sure to cut the bag straight and leave enough space for a solid seal line.
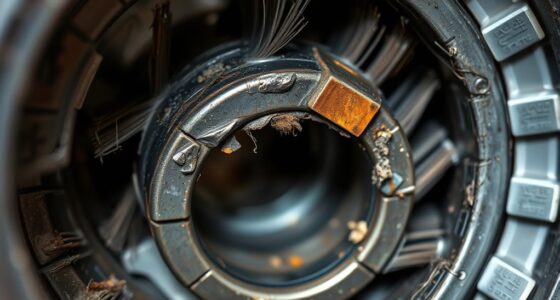
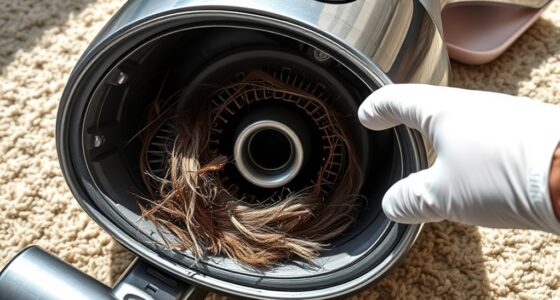
Another common leak source is the vacuum channel or valve. Dust or debris can clog these parts, preventing proper vacuum draw. Cleaning the vacuum channel with a soft brush or cloth can often resolve the issue. Sometimes, the problem stems from the gasket or rubber seal inside the machine. Over time, these parts can become brittle or warped, which diminishes their ability to create an airtight seal. Replacing worn or damaged gaskets can restore proper function.
In addition, ensure that the vacuum chamber or bag is compatible with your machine. Using incompatible bags or sealing materials can create gaps or weak spots. Always follow the manufacturer’s recommendations for bag types and sizes. If you notice persistent leaks despite these checks, consider testing the vacuum seal with a simple method: place a piece of paper or a dollar bill inside the seal, then run the sealer. If you can pull the paper out easily or feel it slipping, you’ve identified a leak source that needs attention.
Regular vacuum seal maintenance involves routine inspections and cleaning, which helps you catch issues early. Addressing common leak sources promptly keeps your vacuum sealer working efficiently, preserving your food and saving you money. Remember, a tight seal isn’t just about convenience — it’s about ensuring your food stays fresh and safe for longer.
Frequently Asked Questions
Can I Reuse Vacuum Seal Bags After Fixing a Leak?
Yes, you can reuse vacuum seal bags after fixing a leak, but it depends on the vacuum bag’s durability and the effectiveness of your reusable sealing techniques. If the bag remains intact and you’ve properly sealed the leak with a reliable method, it’s safe to reuse. Just make sure to inspect for additional damages and clean the bag thoroughly to maintain its sealing effectiveness for future use.
What Tools Are Best for Detecting Tiny Air Leaks?
Detecting tiny air leaks is like searching for a needle in a haystack. You should use a soapy water solution for leak detection—bubbles form at the leak site. A flashlight can help spot light leaks, and an electronic leak detector offers precise seal repair guidance. These tools help you accurately find and fix small leaks, ensuring your vacuum seal stays airtight and effective.
How Often Should I Check for Air Leaks in My Vacuum Seal?
You should check your vacuum seal for air leaks every few months to guarantee seal maintenance and leak prevention. Regular inspections help you catch any issues early, maintaining ideal performance. If you notice a loss of vacuum or inconsistent sealing, perform a thorough leak check immediately. Consistent monitoring keeps your vacuum seal functioning effectively, preventing spoilage and preserving freshness. Make leak prevention a regular part of your routine to extend your device’s lifespan.
Are There DIY Methods to Permanently Fix Persistent Leaks?
Yes, you can tackle persistent leaks with DIY repair by applying sealant options like silicone or specialized vacuum sealant tape. Think of it as patching a tiny hole in your favorite jacket—you’re sealing the leak for good. Clean the area thoroughly, then carefully apply the sealant or tape, ensuring a tight fit. This method creates a permanent barrier, restoring your vacuum seal’s strength and keeping your food fresh and secure.
Does Ambient Temperature Affect Vacuum Seal Effectiveness?
Yes, ambient temperature affects vacuum seal effectiveness because temperature fluctuations can cause the seal material to expand or contract, risking leaks. If the seal material isn’t compatible with your environment’s temperature range, it may degrade faster or fail to maintain a proper vacuum. To guarantee effectiveness, choose seal materials designed for your specific temperature conditions and monitor for signs of wear caused by temperature changes.
Conclusion
Just like a tiny crack in a boat can sink it, a small air leak in your vacuum seal can ruin your effort to keep things fresh. When I fixed a stubborn leak, I realized even the smallest gap can cause big problems. Regularly checking for leaks is like patching tiny holes—prevents big issues down the line. Stay vigilant, and your vacuum seal will keep everything airtight and fresh, just like a well-maintained boat stays afloat.