
Caring for your vacuum cords is essential for their longevity and performance. Wind cords neatly around designated hooks to prevent kinks and tangles. Regularly inspect for fraying or cracks, and replace damaged cords immediately for safety. During use, avoid vacuuming over the cord to prevent strain, and keep it away from sharp objects. Store your vacuum in a cool, dry place to maintain cord integrity. Stick around to discover more tips for keeping your vacuum in top shape!
Key Takeaways
- Wind vacuum cords neatly around hooks to prevent kinks and tangles, ensuring organized storage.
- Regularly inspect cords for fraying or cracks, addressing any damage immediately to maintain safety.
- Handle cords carefully during use by avoiding vacuuming over them and keeping them free from obstacles.
- Store the vacuum in a cool, dry place to protect cords from humidity and extreme temperatures.
- Stay updated on vacuum cord technology and best maintenance practices to extend the lifespan of your vacuum.
When you think about keeping your vacuum in top shape, don’t overlook the importance of caring for its cords. The cords are just as essential as the motor and brushes, and taking the time to ensure they’re well-maintained can make a world of difference. A well-cared-for cord not only extends the lifespan of your vacuum but also helps maintain its efficiency.
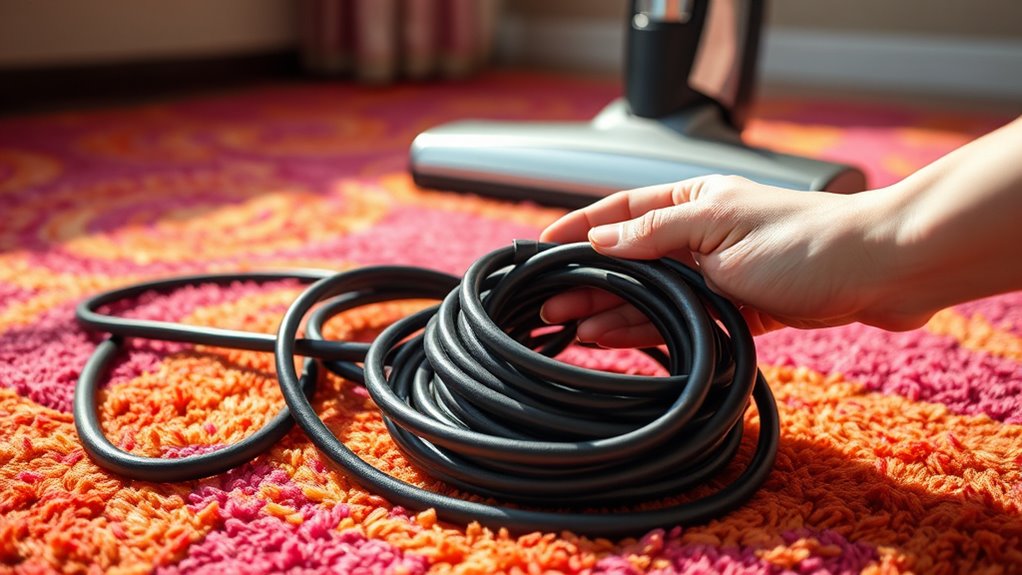
First, consider how you store your vacuum’s cord. Proper cord storage is crucial in preventing tangles and damage. When you’re done vacuuming, don’t just toss the cord aside or wrap it haphazardly around the vacuum. Instead, take a moment to wind it neatly, either around designated hooks or in a way that prevents kinking. If your vacuum has a built-in cord wrap, use it! This simple step ensures that the cord remains straight and free from wear and tear.
Properly storing your vacuum’s cord prevents tangles and damage, ensuring durability and efficiency for your machine.
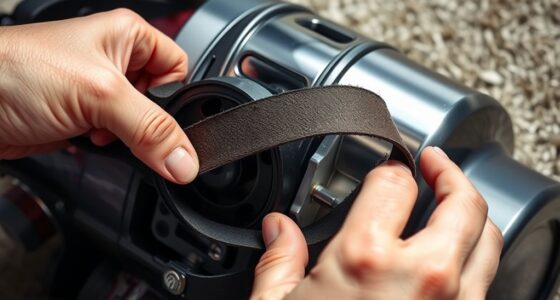
Next, inspect the cord regularly for any signs of fraying or damage. Cords can be susceptible to wear due to constant use, and neglecting this can lead to serious issues. If you notice any cracks or exposed wires, it’s vital to address the problem. A damaged cord not only affects the vacuum’s performance but can also be a safety hazard. Often, replacing a cord is a straightforward process, and doing so can greatly enhance your vacuum’s durability.
Additionally, be mindful of where you use your vacuum. Avoid vacuuming over the cord or pulling it too hard, as this can strain the connection points and lead to damage. Always ensure the cord is clear of obstacles and never position it in a way that could get caught or pinched. By treating the cord gently, you’re helping to maintain its durability, which ultimately keeps your vacuum running smoothly.
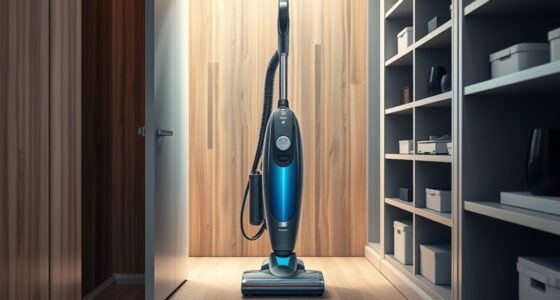
Finally, consider the environment where you store your vacuum. Extreme temperatures or high humidity can negatively impact the cord’s integrity. Keeping your vacuum in a cool, dry place not only protects the cord but also helps preserve the machine as a whole. Moreover, understanding industry trends related to vacuum maintenance can aid in prolonging the life of your device.
Frequently Asked Questions
How Often Should I Replace My Vacuum Cord?
You should replace your vacuum cord every 2 to 5 years, depending on usage and wear. Regularly check for frays or damage to guarantee cord safety. If you notice any issues, it’s best to replace it sooner rather than later. Keeping track of replacement intervals can help prevent accidents and prolong the life of your vacuum. Always prioritize safety when it comes to electrical cords, so stay vigilant for signs of wear!
Can I Repair a Damaged Vacuum Cord Myself?
Yes, you can repair a damaged vacuum cord yourself, but should you? If you’re handy and take the right safety precautions, it can be a rewarding DIY project. Just remember that cord replacement might be the safer choice if the damage is severe. Always unplug your vacuum before attempting any repairs, and guarantee you use appropriate materials to avoid electrical hazards. A little caution goes a long way in keeping you safe!
What Tools Are Needed for Vacuum Cord Maintenance?
For vacuum cord maintenance, you’ll need a few essential tools. Grab a screwdriver set for any disassembly, wire cutters for trimming damaged sections, and electrical tape to secure repairs. If you’re considering a cord replacement, a replacement cord and crimp connectors are necessary. Don’t forget to follow safety precautions—unplug your vacuum before starting any work to avoid electric shock. Keeping these tools handy will make your maintenance tasks easier and safer.
Are There Specific Brands Known for Durable Vacuum Cords?
You’ll find that brands like Dyson and Shark are known for their durable vacuum cords. Notably, about 30% of vacuum failures stem from cord issues, highlighting the importance of quality. These brands often use robust cord materials that withstand wear and tear. Their strong brand reputation also assures you of reliability. Investing in a vacuum with a quality cord can save you time and money in the long run.
How Can I Prevent My Vacuum Cord From Tangling?
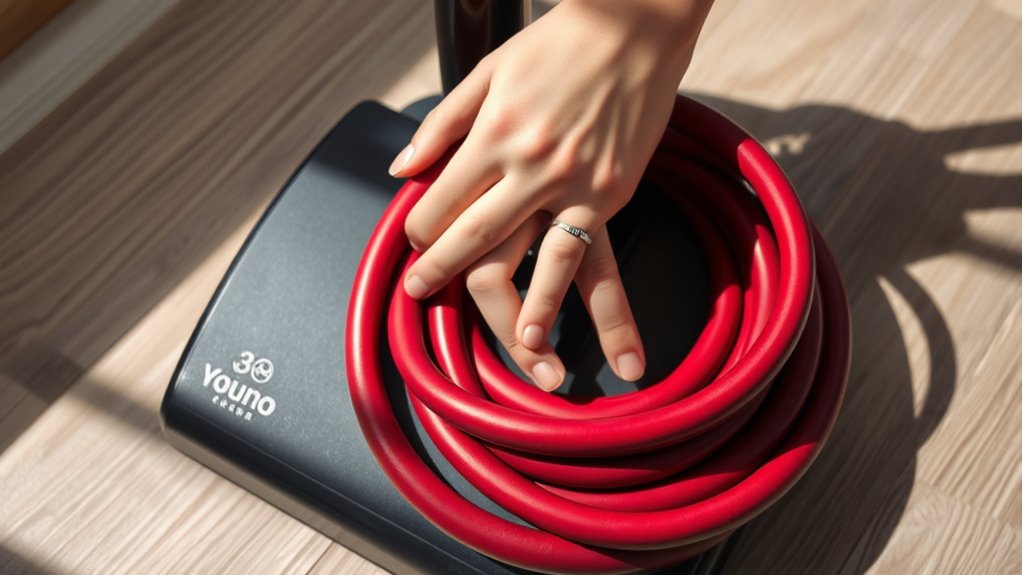
To prevent your vacuum cord from tangling, focus on effective cord management. First, always wrap the cord loosely around the vacuum’s designated hooks after use. Using cord clips or ties can also help keep it organized and tangle-free. When you’re vacuuming, avoid pulling the cord too tight and try to keep it clear of furniture. Regularly inspect for any knots and unwind them promptly to guarantee smooth operation every time you clean.
Conclusion
By taking a little time to care for your vacuum cords, you’re ensuring safety, extending the life of your appliance, and enhancing your cleaning experience. Store them neatly, check for damage regularly, and clean them gently. With these simple steps, you’ll keep your vacuum running smoothly, avoid potential hazards, and save money on repairs. So, keep those cords tidy, keep your space safe, and keep your vacuum in top shape!