
If your vacuum suddenly loses suction or the brush roll stops spinning, it might be a broken or worn belt. Inspect the belt for cracks, tears, or stretching by removing the vacuum cover. If damaged, you need to replace it. Turn off and unplug your vacuum, then follow the steps to remove the old belt and install a new one around the motor pulley and brush roll. Keep going to learn how to do it right.
Key Takeaways
- Signs of a broken belt include loss of suction, brush roll not spinning, and visible cracks or tears.
- Always unplug the vacuum and remove the cover to inspect the belt for damage or wear.
- Check if the belt has stretched, cracked, or slipped off the pulley during visual inspection.
- To replace, remove the old belt, then fit a new one around the motor pulley and brush roll.
- Rotate the brush manually after installing to ensure it spins freely without slipping.

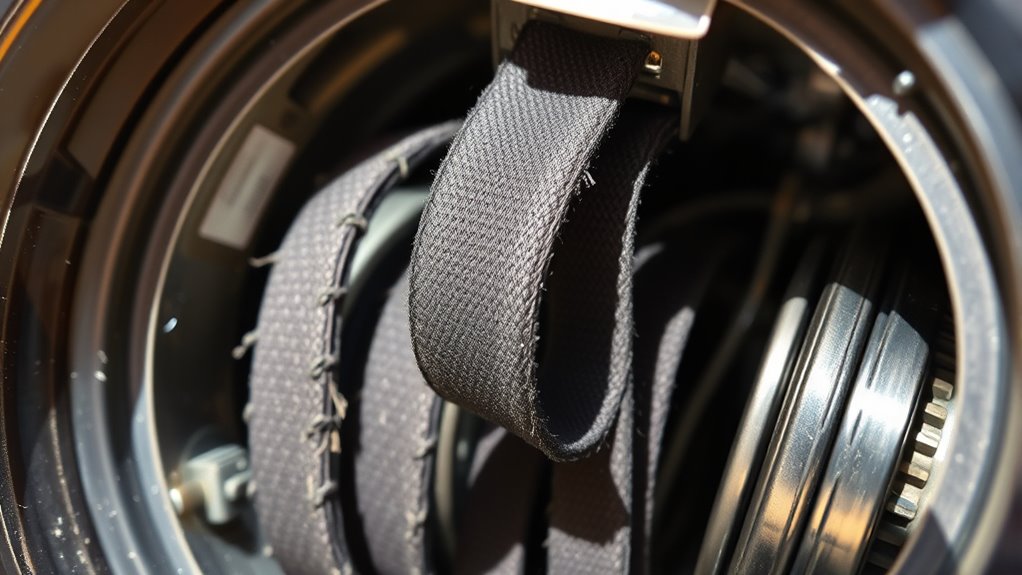
Replacing vacuum belts is a straightforward task that can keep your vacuum cleaner functioning efficiently. When you tackle this job, understanding the belt material and replacement frequency becomes essential. Most vacuum belts are made from durable rubber or synthetic materials designed to withstand the constant tension and friction during cleaning. Rubber belts tend to be flexible and resilient, but over time, they can stretch, crack, or become brittle. Synthetic belts, often made from polyurethane or similar compounds, may last longer but still wear out eventually. Knowing the typical lifespan of your belt material helps you stay ahead of issues. Generally, it’s recommended to replace vacuum belts every 6 to 12 months, depending on how often you vacuum and the model you own. Regular inspections can help you determine if it’s time for a new belt before it completely fails.
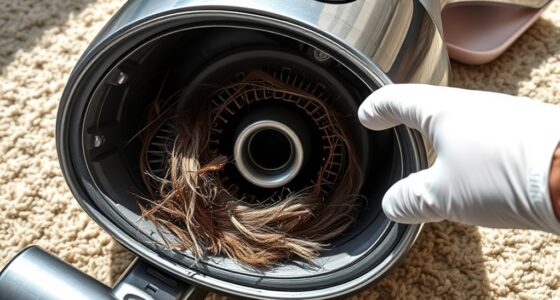
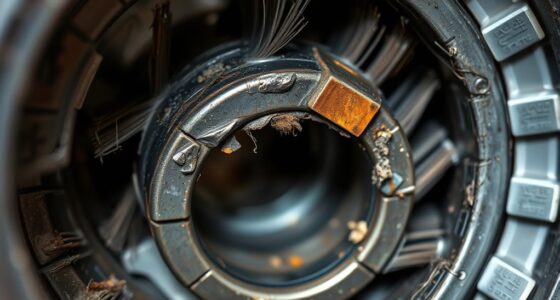
You’ll notice the signs of a broken or worn belt when your vacuum suddenly loses suction or the brush roll stops spinning. Sometimes, you might see the belt slipping off the pulley or the belt appears cracked or frayed. If your vacuum’s brush isn’t spinning, but the motor runs normally, a broken or loose belt is often the culprit. Checking the belt is simple: unplug your vacuum, remove the vacuum’s base or cover, and locate the belt wrapped around the brush roll and motor pulley. If you see cracks, tears, or signs of stretching, it’s time for a replacement. Keep in mind that belt material influences how often you should replace it; rubber belts tend to degrade faster than synthetic ones, especially if you vacuum on rough surfaces or have pets that shed heavily. Additionally, using an airless paint sprayer with adjustable pressure can help prevent damage to your vacuum if you accidentally spray paint or debris near your cleaning area.
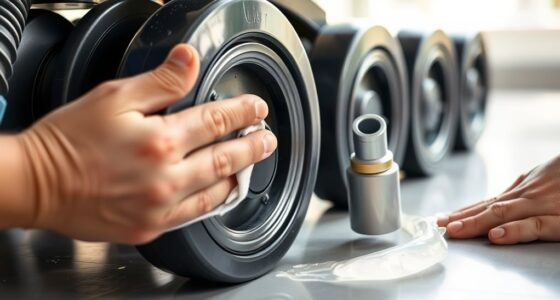
Replacing the belt involves releasing tension, removing the old belt, and fitting a new one in place. Make sure you purchase a replacement belt compatible with your vacuum model, paying attention to the belt material and size. To replace, you’ll usually need to turn the vacuum over and remove a few screws or clips. Carefully slip the new belt around the motor pulley first, then stretch it over the brush roll. Some belts are designed to be installed in a specific direction, so check your manufacturer’s instructions. Once installed, rotate the brush roll manually to ensure it spins freely without slipping off. Replacing your vacuum’s belt at regular intervals prevents complete breakdowns and keeps your cleaning performance ideal.
Frequently Asked Questions
How Often Should I Check My Vacuum Belt for Wear?
You should check your vacuum belt for wear every three to six months as part of regular vacuum maintenance. During belt inspection, look for cracks, fraying, or thinning that could lead to breakage. Regular checks help prevent unexpected breakdowns and keep your vacuum running efficiently. If you notice any signs of wear, replace the belt promptly to avoid damage to other vacuum components and guarantee peak cleaning performance.
Can I Replace a Vacuum Belt Myself Without Tools?
You can definitely do a DIY repair without tools if the vacuum belt is easy to access. Usually, replacing a vacuum belt doesn’t require many tools—just your hands and maybe a screwdriver. Keep in mind, if it’s a tricky job, don’t bite off more than you can chew. Follow the manufacturer’s instructions carefully, and you’ll be back to cleaning in no time—sometimes, it’s just a walk in the park.
What Type of Belt Is Compatible With My Vacuum Model?
You need a belt compatible with your vacuum model, typically made of rubber or synthetic materials for durability. Check your vacuum’s model number and consult the manufacturer’s guidelines or compatible brands like Hoover, Dyson, or Eureka. Confirm the belt matches the original in size and type. Visiting the store or online retailer with your model info helps you find the exact belt material and compatible brands to ensure a proper fit.
Are There Eco-Friendly Options for Replacement Vacuum Belts?
Yes, eco-friendly options for replacement vacuum belts do exist. You can look for biodegradable belts made from eco-friendly materials that break down naturally, reducing environmental impact. These belts are designed to be durable while also being better for the planet. When shopping for replacements, check labels or product descriptions for biodegradable claims or eco-friendly materials, ensuring you choose a sustainable option for your vacuum.
How Long Does a Typical Vacuum Belt Last Before Needing Replacement?
A typical vacuum belt lasts about 6 to 12 months, depending on belt durability and usage. You should check replacement intervals regularly, especially if your vacuum starts to lose suction or makes squealing noises. To extend its life, avoid overworking the vacuum and clear debris from brushes. Replacing the belt promptly when signs of wear appear guarantees consistent performance and prevents damage to your vacuum’s motor.
Conclusion
Replacing your vacuum belt when it shows signs of wear can save you time and money on repairs. Did you know that over 60% of vacuum malfunctions are caused by broken or slipping belts? By regularly inspecting and replacing your belts promptly, you guarantee your vacuum runs efficiently and lasts longer. Don’t wait for a complete breakdown—stay proactive and keep your cleaning device in top shape for a spotless home.