
When deciding between DIY and professional vacuum repairs, consider your confidence and the repair’s complexity. Simple issues, like a clogged hose, can often be tackled with online tutorials and basic tools. However, if you’re facing electrical problems or motor failures, it’s safer to call a professional to avoid costly mistakes. Weigh the potential savings and your skill level carefully. Stick around to discover more about when to handle repairs yourself and when to seek expert help.
Key Takeaways
- DIY repairs can save money on simple issues like clogged hoses or dirty filters, using online tutorials for guidance.
- Complex problems, such as motor or electrical failures, typically require professional expertise to avoid further damage.
- Assess your confidence and tool availability before attempting DIY repairs, as inadequate skills can lead to costly mistakes.
- Professional help is often more cost-effective for challenging repairs, preventing potential escalation of issues if mismanaged.
- Consider long-term savings versus immediate costs; DIY may not always be the best choice for difficult repairs.
When your vacuum malfunctions, you might wonder whether to tackle the repairs yourself or call in a professional. The decision often hinges on two main factors: maintenance costs and repair complexity. With the right knowledge and tools, you can save money by handling repairs on your own. However, if you’re not comfortable with the intricacies of vacuum mechanics, you might end up spending more in the long run.
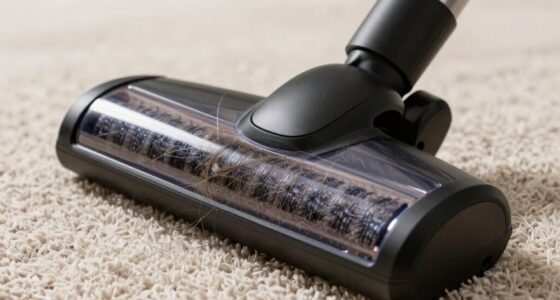
If you choose the DIY route, it’s essential to assess the repair complexity. Some issues, like a clogged hose or a dirty filter, are straightforward and can be resolved with minimal effort. You can usually find tutorials online that guide you through the necessary steps, making it easier to understand what you need to do. Gathering the right tools and parts beforehand can also streamline the process, saving you time and frustration.
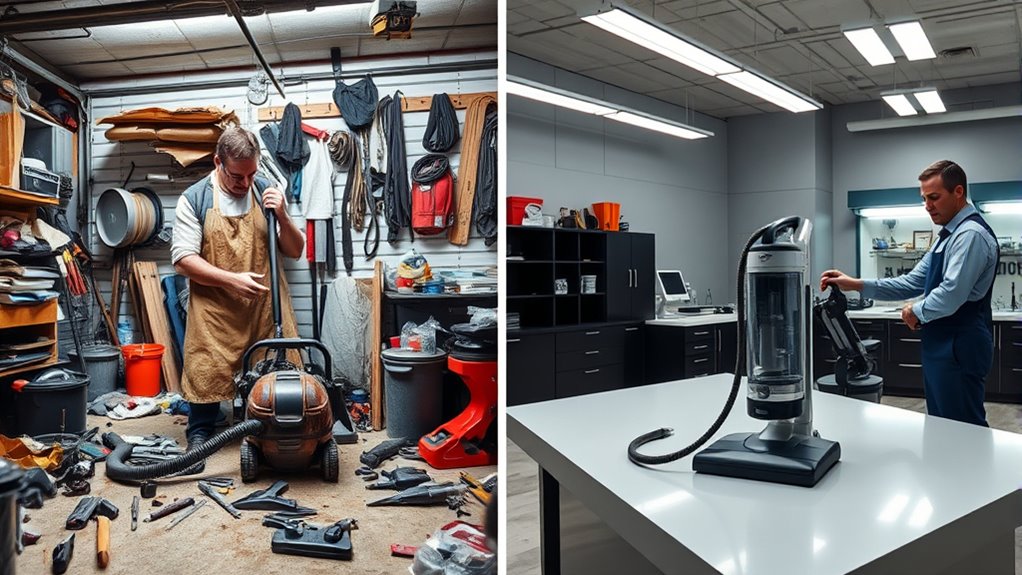
However, not all repairs are created equal. If your vacuum’s motor is failing or there’s an electrical issue, you may find yourself in over your head. These types of repairs require a level of expertise that most people don’t have. Attempting to fix complex problems without proper knowledge could lead to further damage, increasing both your maintenance costs and the time you spend trying to fix it. In such cases, calling a professional can be the wiser choice, even if it means spending more upfront. Additionally, understanding industry trends in voice acting can help you recognize when to seek professional help in various repair scenarios.
Not all vacuum repairs are simple; complex issues often require professional expertise to avoid costly mistakes.
On the other hand, if you feel confident in your abilities and the repair isn’t too complicated, you could save a significant amount by choosing to do it yourself. Just be sure to weigh the potential savings against the risk of making the issue worse. Additionally, consider the cost of any tools you might need to purchase. If you don’t already have them, the initial investment could negate the savings from not hiring a professional.
Ultimately, the decision between DIY and professional vacuum repairs comes down to your confidence and the specific issue at hand. If you’re unsure, err on the side of caution. You don’t want a minor problem to escalate into a costly repair. By evaluating both the repair complexity and maintenance costs, you can make an informed decision that suits your needs and budget.

Multipurpose Vacuum Line Kit,6PCS 5Ft Vacuum Hose Automotive+64PCS Vacuum Line Connectors,Max 130PSI Silicone Hose for Variety Car Piping System Automotive Replacement Vacuum Hoses (70PCS)
[Complete Package]: This set includes 6 vacuum hose automotive, each with a length of 5 feet and inner…
As an affiliate, we earn on qualifying purchases.
As an affiliate, we earn on qualifying purchases.
Frequently Asked Questions
What Tools Do I Need for DIY Vacuum Repairs?
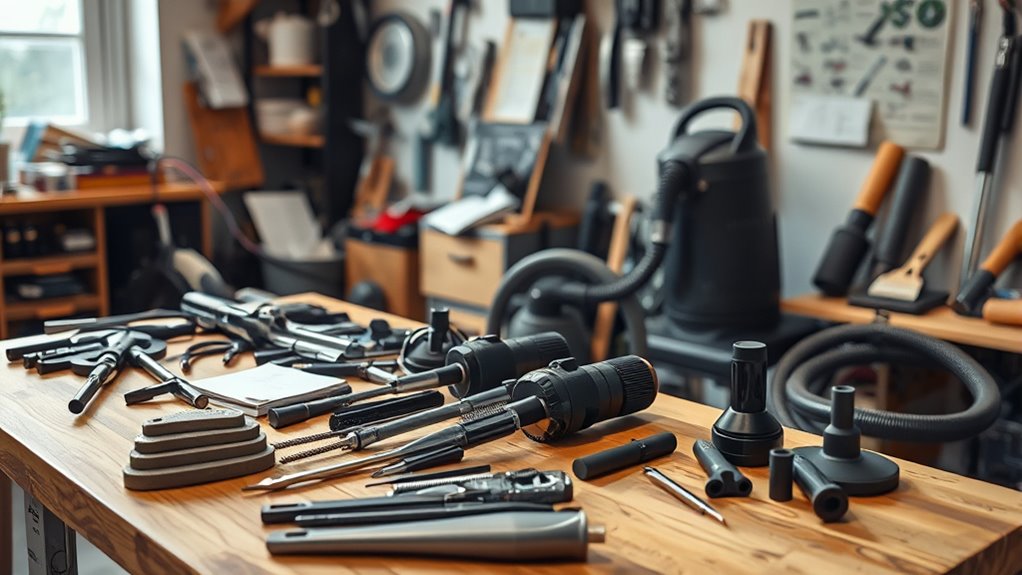
For DIY vacuum repairs, you’ll need a few essential tools. Grab a screwdriver set for opening the vacuum, pliers for gripping and removing parts, and a multimeter to check electrical issues. A brush and cloth are great for vacuum maintenance, helping you clean filters and brush rolls. Keep a replacement belt and bags on hand for common problems. With these tools, you’ll tackle most vacuum issues effectively!
How Do I Know if My Vacuum Is Worth Repairing?
To determine if your vacuum’s worth repairing, start with vacuum brand comparisons. Some brands have better longevity and performance than others. Next, conduct a repair cost analysis—compare the estimated repair costs to the price of a new vacuum. If repairs are over half the cost of a new model, it’s usually better to invest in a replacement. finally, consider the age and condition of your vacuum before making a decision.
Can I Find Vacuum Parts Online Easily?
Yes, you can find vacuum parts online easily. Many retailers specialize in vacuum cleaning supplies, offering a wide range of replacement parts. Just search for your vacuum model, and you’ll usually see various options. When considering repair costs, compare prices of parts to the expense of a new vacuum. This way, you can decide whether it’s worth fixing your current one or investing in a new model.
How Long Do Vacuum Repairs Typically Take?
Repairs usually take about one to three hours, depending on the issue. For instance, if you’re troubleshooting a clogged hose, you might find that the repair time estimate is closer to one hour. However, if it involves replacing a motor, it might stretch to three hours. Knowing the common issues can help you gauge how long your repair might take, giving you a better idea of what to expect.
Are There Any Safety Tips for DIY Vacuum Repairs?
Yes, there are essential safety tips for your DIY vacuum repairs. First, always unplug the vacuum to guarantee electrical safety while you work. Use insulated tools to minimize the risk of shock. Regular tool maintenance is vital; keep your tools in good condition to avoid accidents. Wear safety goggles to protect your eyes from debris, and if you’re unsure about any step, consult the user manual or seek professional advice. Stay safe!

2 + 4 Pack Filters for Shark Vacuum Navigator Lift Away Filter Replacement ZU503AMZ NV350 NV351 NV352 NV355 NV356E NV357 NV360 NV370 UV440 UV540, Parts XFF350 XHF350
Perfect Compatible with Shark Navigator Lift Away Models: NV350_26, NV350A_26, NV350E, NV350Q, NV350T, NV350W, NV350W_N, NV350WC, NV351, NV351C,…
As an affiliate, we earn on qualifying purchases.
As an affiliate, we earn on qualifying purchases.
Conclusion
When it comes to vacuum repairs, think of it like a car tune-up. Sure, you can try changing the oil yourself, but sometimes you need a mechanic to get to the root of the issue. While DIY fixes can save you some cash, professional repairs guarantee your vacuum runs smoothly for years. Just as you wouldn’t want to risk your car’s performance with a half-hearted fix, don’t gamble with your vacuum’s efficiency—consider going pro for a lasting solution!

Orion Motor Tech 2 in 1 Brake Caliper Compression Tool & Brake Bleeder Kit, Handheld Vacuum Pump Brake Bleeder Tool Set, Disc Brake Pad Service Tool with Thrust Bolt Retaining Plates & 18 Adapters
COMPREHENSIVE SET: Get the ultimate brake maintenance experience with Orion Motor Tech's comprehensive brake tool set, allowing you…
As an affiliate, we earn on qualifying purchases.
As an affiliate, we earn on qualifying purchases.

Rubber Vacuum Caps Plug Kit, 102 PCS Assorted Vacuum Plugs Hose End Caps Assortment Kit for Carburetor, Manifold, Automotive 3/16'' 5/16" 7/32" 1/4" 5/32'' 3/8''
Come with 6 SIZE & 102 QUANTITY: 3/8" ID(1" Length): 6PCS, 5/16" ID(7/8" Length): 10PCS, 1/4" ID(1-1/4" Length):…
As an affiliate, we earn on qualifying purchases.
As an affiliate, we earn on qualifying purchases.