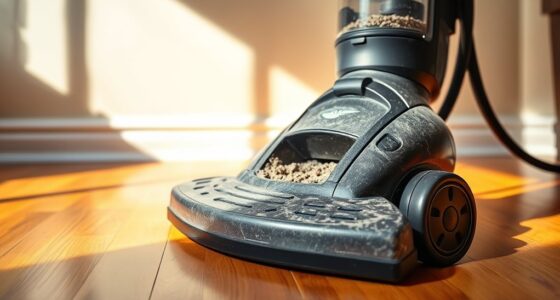
To build a weekly maintenance checklist for any vacuum, start by inspecting and cleaning or replacing filters to guarantee proper airflow. Check the cord for damage and wind it properly after use. Remove tangled hair and debris from the brush roll, and empty the dustbin or change the bag regularly. Also, inspect hoses and attachments for blockages or damage. Keeping track of these tasks helps maintain your vacuum’s performance and longevity—continue for more tips on creating an effective routine.

Get cleaning gear delivered free — and shop member deals
- Fast, free delivery on millions of items
- Access to Prime Big Deal Days deals on October 6–7
- Prime Video, Amazon Music and more included
Key Takeaways
- Identify essential maintenance tasks such as filter cleaning, cord inspection, and brush roll removal based on vacuum type.
- Schedule weekly routines for inspecting and cleaning filters, hoses, and attachments.
- Include steps for emptying dustbins or replacing bags to maintain suction power.
- Allocate time for checking cords for damage and proper storage.
- Record completed tasks to ensure consistent weekly upkeep and identify recurring issues.
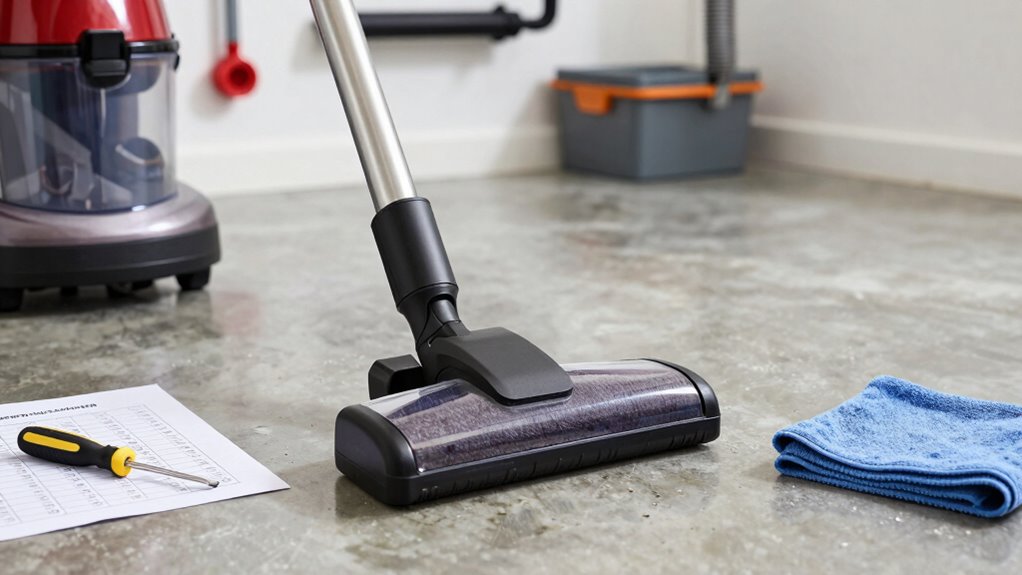
Keeping your vacuum in top shape requires a simple, consistent routine. When you stay on top of maintenance, you extend the life of your appliance and guarantee it performs efficiently every time you use it. To do this effectively, building a weekly maintenance checklist helps you stay organized and prevents overlooked tasks from piling up. Start by inspecting your vacuum’s vacuum filters. These filters trap dust, dirt, and allergens, and over time, they can become clogged or dirty, reducing suction power. Check your vacuum filters weekly and clean or replace them as needed. Many filters are washable—just follow the manufacturer’s instructions—but even non-washable filters need regular replacement. Neglecting this step can lead to poor airflow and decreased cleaning performance, which defeats the purpose of having a vacuum in the first place. Proper filter maintenance ensures your vacuum operates at peak efficiency and prolongs its lifespan.
Regularly check and clean vacuum filters to ensure optimal suction and performance.
Another essential task on your weekly checklist is cord storage. After each use, wind the cord properly to prevent tangles and damage. Proper cord storage not only prolongs the lifespan of your vacuum’s power cord but also keeps your cleaning space safe and tidy. When you unwind your vacuum for use, take a moment to inspect the cord for frays or cuts. Address any damage immediately to avoid electrical hazards. Keeping the cord neatly stored also makes your vacuum easier to store and ready for the next cleaning session. Additionally, understanding the importance of vacuum culture can motivate you to maintain your appliance regularly, ensuring it remains a reliable tool in your cleaning routine. Regularly inspecting and maintaining vacuum components can help prevent mechanical issues and costly repairs. Incorporating knowledge about the best vacuums for dust removal can help you choose models with better filtration and suction, making your maintenance routine even more effective. Furthermore, staying aware of common vacuum repair issues can help you troubleshoot problems early and avoid expensive repairs.
In addition to vacuum filters and cord storage, you should also check the brush roll or beater bar. Remove any hair, string, or debris tangled around it, as this can hinder the vacuum’s ability to pick up dirt effectively. Clear the brush regularly to maintain peak cleaning performance. Don’t forget to empty the dustbin or replace the bag if you have a bagged vacuum. Doing this weekly ensures your vacuum maintains maximum suction and prevents dust from recirculating into your air.
Finally, take a few minutes to inspect the hoses and attachments for blockages or damage. Clear out any obstructions and wipe down attachments to keep them clean and ready for use. Regularly cleaning and inspecting these parts helps prevent clogs and mechanical issues that could require costly repairs down the line. By sticking to this weekly maintenance routine—covering vacuum filters, cord storage, brush rolls, dustbins, and attachments—you’ll keep your vacuum running smoothly and extend its lifespan. This simple checklist makes maintenance manageable and guarantees your vacuum always performs at its best when you need it most.
As an affiliate, we earn on qualifying purchases.
Frequently Asked Questions
Can I Customize the Checklist for Specific Vacuum Models?
Yes, you can personalize your maintenance checklist for specific vacuum models. Check your vacuum’s manual for model-specific needs, as different models have unique parts and features. Use the customization options to include tasks like filter replacements or belt checks tailored to your vacuum model. This guarantees your maintenance routine is effective and efficient, helping your vacuum perform at its best and last longer.
How Often Should I Replace Vacuum Filters?
You should replace vacuum filters every 1 to 3 months, depending on usage and filter type. Regular vacuum filter replacement guarantees peak suction and air quality. Incorporate maintenance scheduling into your routine by checking filters weekly, especially if you notice reduced performance or increased dust. Always follow the manufacturer’s guidelines for specific filter replacement intervals, and keep spare filters handy to maintain your vacuum’s efficiency.
What Tools Are Needed for Maintenance?
Think of your vacuum as a trusty steed needing proper care. You’ll need basic tools like a screwdriver, a soft brush, and perhaps a cloth. Check battery compatibility if it’s cordless, ensuring the power source matches. Also, consider the cord length for easy maneuvering. These tools help you clean filters, clear blockages, and maintain parts, keeping your vacuum running smoothly and efficiently, just like a well-cared-for steed ready for any ride.
Is It Safe to Vacuum Wet Spills During Maintenance?
Vacuuming wet spills during maintenance isn’t safe with most vacuums, as they’re typically designed for dry cleanup only. Doing so can cause damage to the motor and pose electrical hazards. Always follow safety precautions by turning off the vacuum, unplugging it, and ensuring spills are completely dry before cleaning. For wet spills, use a wet/dry vacuum specifically designed for such tasks to keep safety and efficiency intact.
How Do I Troubleshoot Common Vacuum Issues?
When troubleshooting common vacuum issues, start by checking for vacuum odor, which might signal a clogged filter or brush. If you notice power fluctuation, inspect the power cord and connections. Confirm the brush roll spins freely and isn’t tangled. Clean or replace filters regularly. If problems persist, consider motor or belt issues. Regular maintenance keeps your vacuum running smoothly and prevents future problems.
Conclusion
Creating a weekly maintenance checklist for your vacuum isn’t just about keeping it in top shape—it’s about ensuring it’s ready when you need it most. When you stick to your routine, you’ll notice fewer breakdowns and cleaner floors, almost as if fate has aligned to make your cleaning effortless. The coincidence of a smoothly running vacuum and a spotless home proves that a little regular care truly makes all the difference. Stay consistent, and your vacuum will thank you.
Fall Picks
fall essentials
As an affiliate, we earn on qualifying purchases.