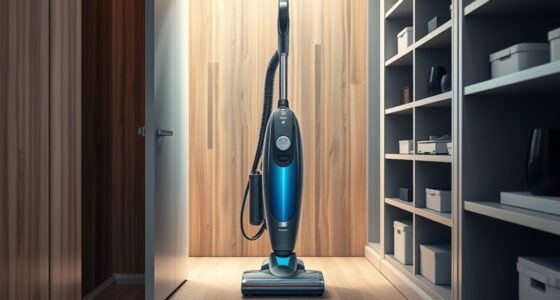

If you’re checking for air leaks in your vacuum, start by inspecting the hose and attachments for cracks or loose connections. Look for gaps at connection points, and guarantee fittings are secure. Next, check if filters are clean and the dust bin or bag isn’t full; both can obstruct airflow. Finally, examine the vacuum body for leaks around seals. By staying proactive with these checks, you can maintain ideal performance and discover additional tips to enhance your vacuum care.
Key Takeaways
- Inspect the hose and attachments for cracks, holes, or loose connections that can cause air leaks.
- Check filters for clogs or dirt, as they can affect airflow and mimic air leak symptoms.
- Examine the dust bin or bag to ensure it isn’t full, which can obstruct airflow and reduce suction.
- Look for leaks or cracks in the vacuum body, particularly around seals and gaskets, and replace damaged parts.
- Conduct regular maintenance checks and run the vacuum after repairs to confirm improved performance and eliminate leaks.

When you notice your vacuum isn’t picking up dirt as effectively as it used to, it might be time to check for air leaks. Air leaks can considerably reduce your vacuum’s suction power, making it less effective for cleaning. Addressing these leaks is vital for effective vacuum maintenance, guaranteeing your appliance works at its best. Let’s explore the troubleshooting tips that can help you identify and fix these pesky leaks.
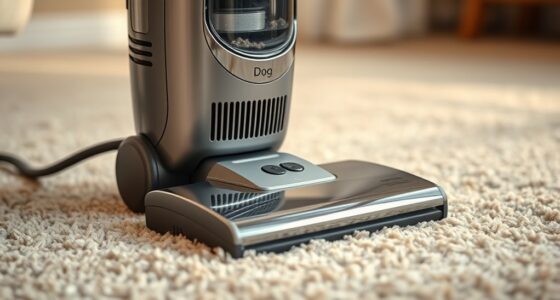
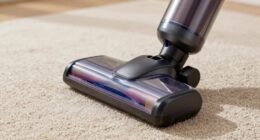
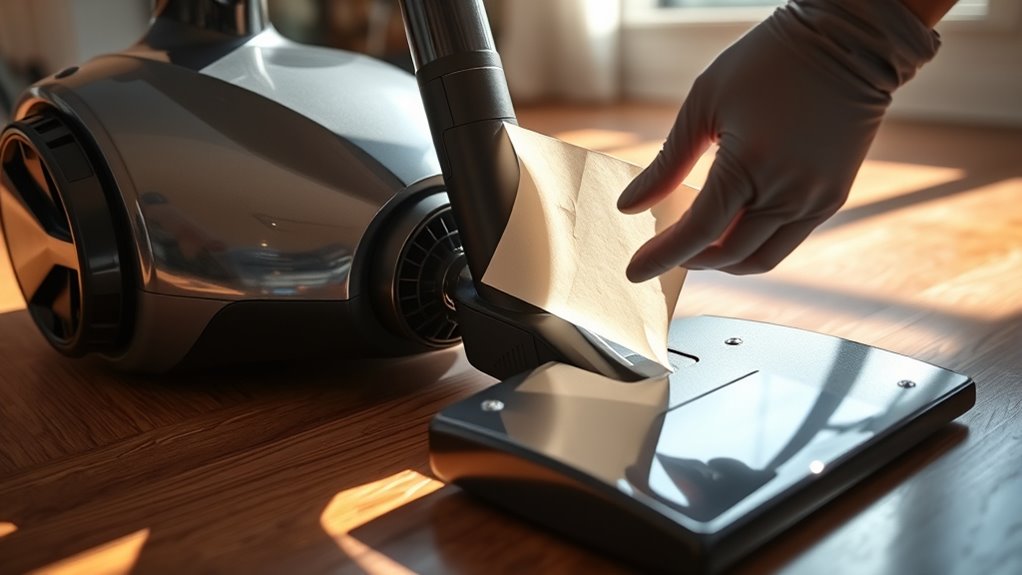
First, start by examining the vacuum’s hose and attachments. Look for any cracks, holes, or loose connections. If you find any damage, it’s imperative to replace or repair those parts. A simple tear in the hose can lead to a substantial loss in suction, so don’t overlook these components. While you’re at it, check the connection points where the hose attaches to the vacuum body. A loose connection can create gaps that allow air to escape, so ensure everything fits snugly.
Next, inspect the vacuum’s filters. Clogged or dirty filters can also contribute to suction issues, and while they might not be air leaks per se, they can mimic the symptoms of one. If the filter’s dirty, clean or replace it according to the manufacturer’s recommendations. Regular filter maintenance is part of good vacuum upkeep, so make this a habit.
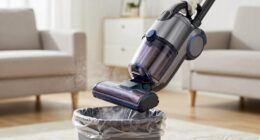
Don’t forget to check the dust bin or bag as well. If it’s full, it can block airflow and reduce suction. Empty the bin or replace the bag, and you might see an immediate improvement in performance. Sometimes, it’s the simplest solutions that produce the best results.
After addressing these components, try running the vacuum again. If it still struggles to pick up dirt, consider looking for leaks in the vacuum body itself. A common spot for leaks is around the seals. Inspect these areas closely, and if you notice any damage, you may need to replace seals or gaskets.
Lastly, if you’re still having trouble after these checks, it could be time to consult the user manual or contact customer support for further troubleshooting tips. They might have specific guidance tailored to your vacuum model. Remember that regular maintenance is key to keeping your vacuum running efficiently. By staying proactive in checking for air leaks and other issues, you can extend the life of your vacuum and guarantee it remains a reliable cleaning tool in your home. Furthermore, intelligent tutoring systems can provide helpful tips for maintaining household appliances effectively.

Multipurpose Vacuum Line Kit,6PCS 5Ft Vacuum Hose Automotive+64PCS Vacuum Line Connectors,Max 130PSI Silicone Hose for Variety Car Piping System Automotive Replacement Vacuum Hoses (70PCS)
[Complete Package]: This set includes 6 vacuum hose automotive, each with a length of 5 feet and inner…
As an affiliate, we earn on qualifying purchases.
As an affiliate, we earn on qualifying purchases.
Frequently Asked Questions
How Do I Prevent Air Leaks in My Vacuum?
To prevent air leaks in your vacuum, focus on regular vacuum maintenance. Start by checking the seals and gaskets for any wear or damage, and replace them if needed. Make sure all attachments are securely connected, and clean or replace filters regularly to maintain seal integrity. Additionally, inspect the hoses for cracks or tears, as these can cause leaks. Keeping your vacuum in top shape will enhance its performance and lifespan.
What Tools Do I Need to Check for Air Leaks?
You’ll need a few essential tools to check for air leaks. Grab some vacuum sealants and a leak detection solution, which will help you pinpoint any trouble spots. A flashlight can illuminate hidden areas, making it easier to inspect. You might also want a soapy water mixture to bubble up around potential leaks. With these tools in hand, you’re prepared to uncover hidden issues and make certain everything’s sealed tight.
Can Air Leaks Affect Vacuum Performance on Different Surfaces?
Yes, air leaks can considerably affect your vacuum’s performance on different surfaces. When there’s a leak, it reduces suction power, making it harder to pick up dirt and debris, especially on carpets or textured surfaces. Using effective leak detection techniques, like soapy water or a smoke test, helps identify problem areas. Ensuring surface compatibility with your vacuum’s design also plays an essential role in maintaining ideal performance across various surfaces.
How Often Should I Check My Vacuum for Air Leaks?
You should check your vacuum for air leaks at least once every few months as part of regular vacuum maintenance. Keeping an eye out for any signs of wear or damage guarantees peak performance. If you notice a drop in suction or hear unusual sounds, it’s time for air leak detection. Regular checks help prolong your vacuum’s lifespan and maintain efficiency, so don’t overlook this vital aspect of your cleaning routine!
Are There Any DIY Fixes for Small Air Leaks?
Yes, there are DIY fixes for small air leaks. You can use vacuum sealants, which are easy to apply and can effectively seal any gaps. Start by conducting leak detection to pinpoint the exact areas where air escapes. Once identified, simply apply the sealant according to the instructions. This method not only improves efficiency but can also extend your vacuum’s lifespan. Don’t forget to check your work after the sealant dries!

2 + 4 Pack Filters for Shark Vacuum Navigator Lift Away Filter Replacement ZU503AMZ NV350 NV351 NV352 NV355 NV356E NV357 NV360 NV370 UV440 UV540, Parts XFF350 XHF350
Perfect Compatible with Shark Navigator Lift Away Models: NV350_26, NV350A_26, NV350E, NV350Q, NV350T, NV350W, NV350W_N, NV350WC, NV351, NV351C,…
As an affiliate, we earn on qualifying purchases.
As an affiliate, we earn on qualifying purchases.
Conclusion
So, after all that effort to keep your vacuum running smoothly, it turns out the real culprit behind your cleaning struggles might just be a few sneaky air leaks. Isn’t it ironic that the very tool designed to suck up dirt can also let in air? By tackling these leaks, you’re not only improving performance but also ensuring you’re not wasting energy on a vacuum that’s working harder than it should. Time to seal the deal!

SAKAI Dust Bag Replacement Collection Bag For Pneumatic Suction Vacuum Gun
As an affiliate, we earn on qualifying purchases.
As an affiliate, we earn on qualifying purchases.

5 Factory and 2 PTFE Cloth Tapes Compatible with Weston PRO-2100 (65-0101) and PRO-2300 (65-0201) Pro Series Heating Element Wires
Replace Burnt wires & Teflon on Weston Pro-2300-2100 Vacuum Sealers
As an affiliate, we earn on qualifying purchases.
As an affiliate, we earn on qualifying purchases.