
You can easily make a vacuum cleaner at home with some basic materials. Start by gathering a motor, a sturdy container, a HEPA filter, and a flexible hose. Secure the motor in the container and connect the wiring. Attach the filter tightly, then connect the hose to enhance suction. Once everything's assembled, plug it in and test it out on different surfaces. Make sure to inspect for leaks and blockages during your tests. To keep your vacuum efficient, regular maintenance is key. There's plenty more you can discover about ideal usage and troubleshooting tips!
Key Takeaways
- Gather essential materials including a motor, container, HEPA filter, hose, and electrical components for assembly.
- Securely place the motor inside the container and connect wiring according to manufacturer instructions.
- Attach the filtration system to prevent dust escape and connect the hose for effective suction.
- Conduct a final inspection to ensure all components are securely assembled before testing the vacuum.
- Test the vacuum on various surfaces and monitor for performance issues, ensuring effective debris collection.
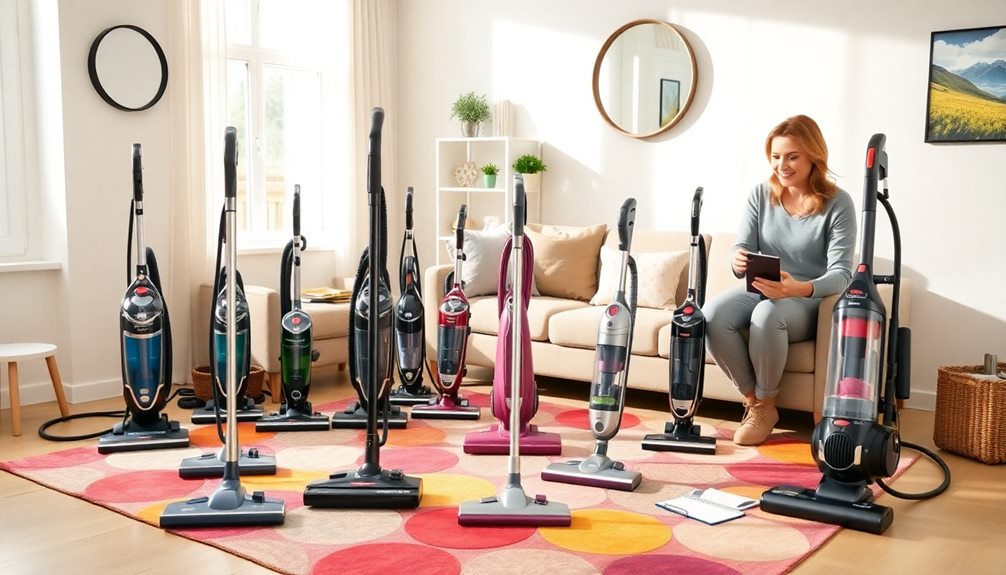
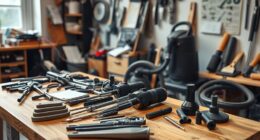
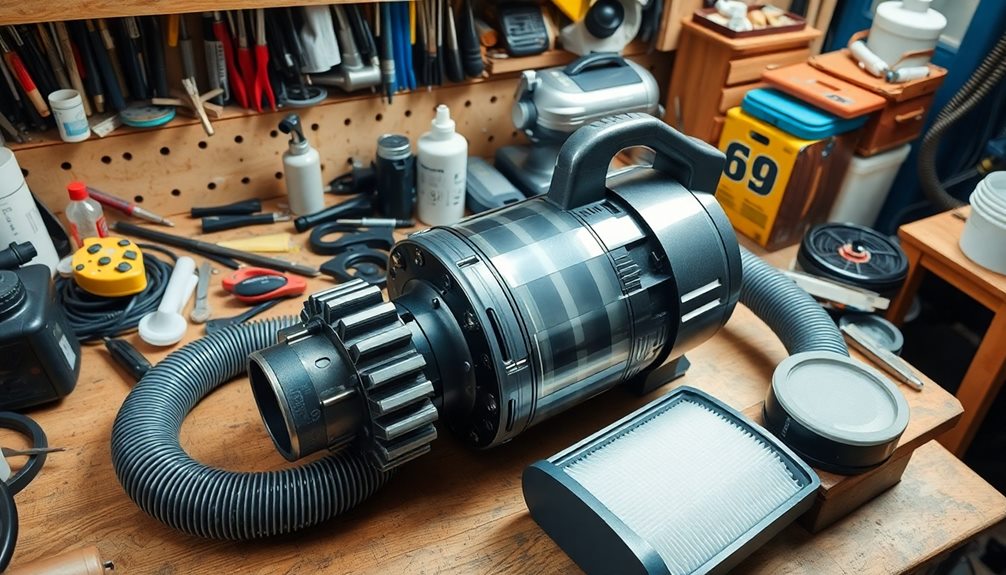
Required Materials

Creating a vacuum cleaner at home starts with gathering the right materials. First, you'll need a motor with a fan. You can often find this in an old vacuum or even in appliances like a hairdryer. This motor is essential, as it powers your vacuum and creates the necessary suction.
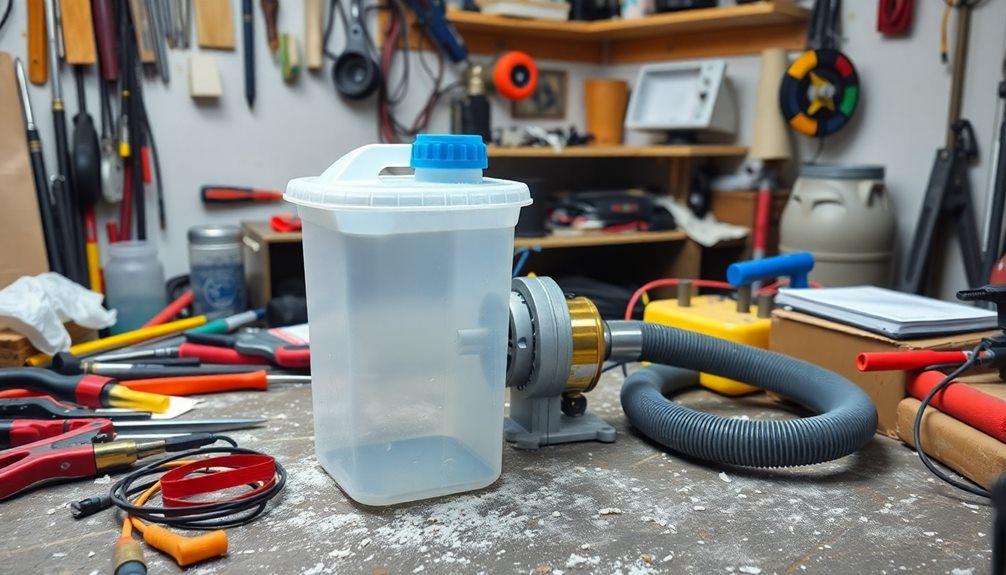
Next, you'll require a sturdy container to house the motor and filter. A plastic bucket or a cardboard box works well for this purpose. It needs to be strong enough to withstand the vibrations when the motor runs.
A HEPA filter or similar filtration material is important for capturing dust and allergens effectively. This will guarantee that your homemade vacuum cleaner not only cleans but also improves air quality.
Don't forget about flexible tubing or a hose. This part directs airflow and collects debris from the floor into the container.
Lastly, you'll need electrical wires and a power switch. These components are crucial for safely connecting the motor to a power source, allowing your vacuum cleaner to operate efficiently.
With these materials in hand, you're ready to move on to building your vacuum cleaner!
Step-by-Step Instructions
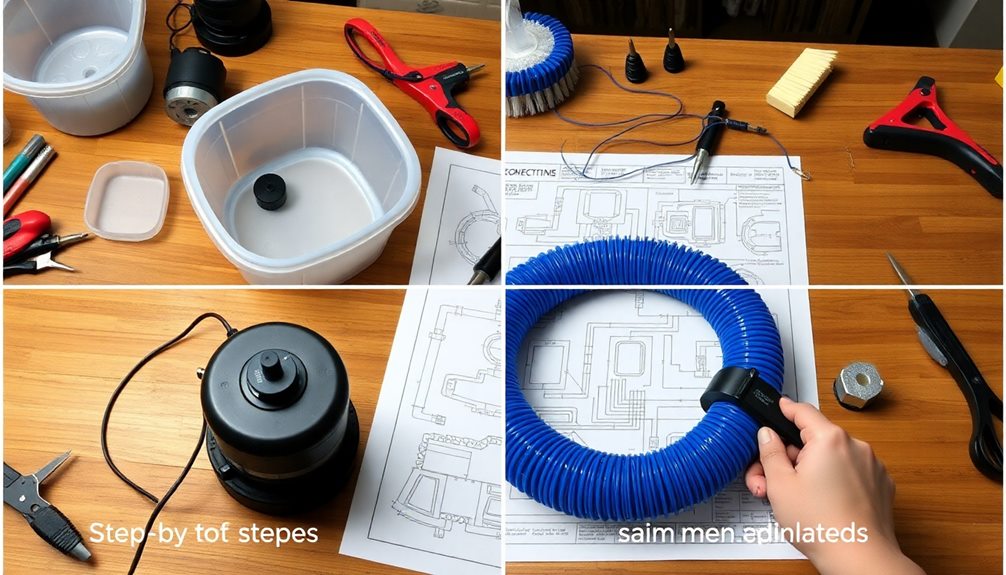
Now that you've gathered all the necessary materials, it's time to put everything together.
Follow these step-by-step instructions to assemble your homemade vacuum cleaner and get it up and running.
You'll be amazed at how simple it's to create a functional device from basic components!
Required Materials and Tools
To make your own vacuum cleaner at home, you'll need a few essential materials and tools. Start with a plastic bottle, which will serve as the body of your vacuum. You'll also need a small electric motor to create the suction mechanism. A filter, like a coffee filter, is fundamental for capturing dirt and debris, while allowing airflow.
Don't forget a vacuum hose to direct the suction where it's needed. For power, gather batteries or a power adapter to energize the electric motor for peak performance. You'll also need scissors or a utility knife to cut the plastic bottle properly. When cutting, create an inlet for the vacuum hose, guaranteeing a tight fit to maximize suction efficiency.
Lastly, strong adhesive or tape will help you secure the filter inside the bottle and keep all components firmly assembled. Before you start using your vacuum cleaner, it's wise to test it in a safe area to verify everything functions correctly and safely.
With these materials and tools on hand, you're ready to move on to the assembly and operation steps.
Assembly and Operation Steps
With your materials gathered and ready, you can start assembling your homemade vacuum cleaner. Follow these steps for a smooth assembly and operation.
- Connect the Motor: Start by connecting your strong motor to a power source. Make sure it's securely mounted to prevent any vibrations during operation.
- Attach the Vacuum Bag or Container: Next, attach the vacuum cleaner bag or container to the motor's exhaust. This will collect debris and dust effectively while you clean.
- Secure the Hose: Now, securely connect the hose to the intake of the motor. Confirm there are no leaks; this is essential for maximizing suction efficiency.
- Test Your Vacuum Cleaner: Finally, turn on your vacuum cleaner in a well-ventilated area. Pay attention to any unusual noises or performance issues.
If everything sounds good, you're ready to start cleaning!
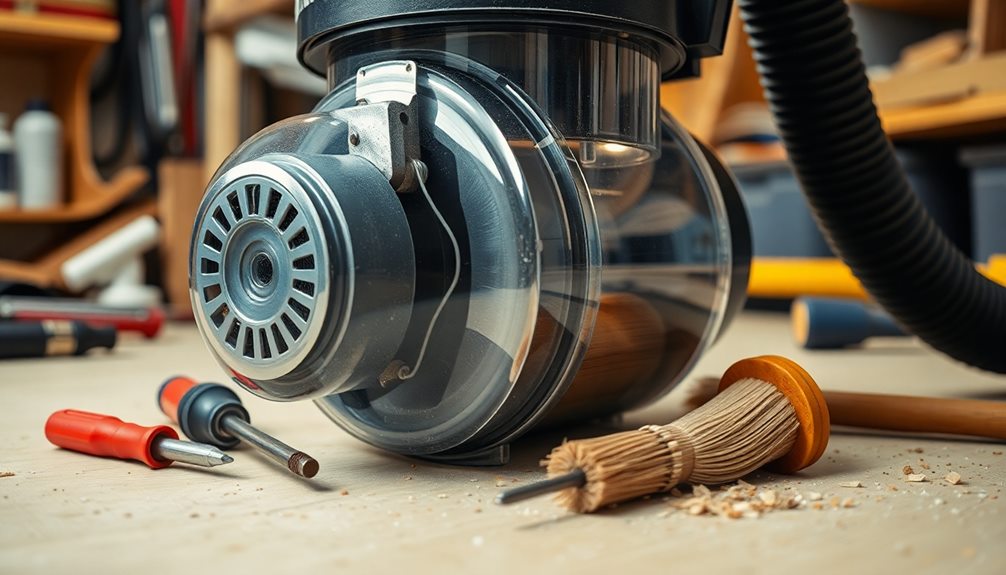
Assembly Process
As you begin the assembly process, gather all essential components like the motor, vacuum cleaner body, filter, and hose, verifying each part is clean and undamaged for best performance.
Start by securely placing the motor inside the vacuum cleaner body. Confirm to connect any necessary wiring, following the manufacturer's instructions to guarantee safe electrical connections.
Next, attach the filter to its designated compartment. It's vital that the filter fits snugly to prevent dust and debris from escaping during operation.
Once the filter is in place, connect the hose to the vacuum cleaner body. Check that the connection is airtight; this will maximize suction power and efficiency.
After completing these steps, conduct a thorough final inspection. Confirm every component is assembled correctly and there are no loose connections.
Double-check that the motor is secure and that the hose is properly attached. Once you're satisfied everything looks good, you can plug in the vacuum cleaner and prepare to test its functionality.
Safety Considerations

When you're making your vacuum cleaner, always wear protective gear like safety goggles and a dust mask to shield against dust and debris.
It's essential to keep hazardous materials out of reach of children and pets to prevent accidents.
Additionally, make sure to dispose of any leftover materials properly to maintain a safe workspace.
Protective Gear Requirements
Protecting yourself during the construction and use of a homemade vacuum cleaner is vital. Safety should always be your priority to avoid injuries and health issues. Here are some protective gear requirements you should follow:
- Safety Goggles: Always wear safety goggles to shield your eyes from dust and debris that may arise while constructing or using your vacuum cleaner.
- Dust Mask: A dust mask is important to prevent inhaling fine particles, especially when working with materials that create dust during assembly.
- Gloves: Consider wearing gloves to protect your hands from sharp edges and potentially hazardous materials involved in the construction process.
- Closed-Toe Shoes: Make sure you wear closed-toe shoes to safeguard your feet from heavy objects or tools that might drop during the assembly.
If you're using power tools, don't forget ear protection to prevent hearing damage from loud noises.
By equipping yourself with the right protective gear, you'll minimize risks and focus on building your vacuum cleaner safely and effectively.
Prioritizing safety now will pay off in the long run.
Child and Pet Safety
Creating a safe environment for children and pets around your homemade vacuum cleaner is essential to prevent accidents. Always store the vacuum cleaner out of reach, ensuring that curious little hands or paws can't access it. Consider using child-proof locks on storage areas to further enhance safety.
When you're using the vacuum, keep a close eye on children and pets. They can easily get too close to moving parts or may be accidentally vacuumed if you're not careful. It's vital to make sure all electrical components are properly insulated and secured. This will help avoid shocks or burns, especially in households with inquisitive kids and pets.
Additionally, avoid using small or lightweight components that could pose a choking hazard if they detach or are ingested.
Safety should always be your priority, so double-check your homemade vacuum for any potential risks before using it. By taking these precautions, you can create a safer space for your family while still enjoying the benefits of your DIY vacuum cleaner.
Proper Material Disposal
Disposing of your homemade vacuum cleaner materials requires careful consideration to confirm safety and environmental responsibility. You want to ascertain that you're not only keeping yourself safe but also protecting the planet.
Here are some essential tips for proper material disposal:
- Separate Recyclables: Always divide recyclable materials like plastic, metal, and paper from general waste. This minimizes your environmental impact and promotes recycling.
- Check Local Regulations: When dealing with hazardous components such as batteries or motor parts, consult your local regulations for proper disposal methods. This helps prevent harmful substances from contaminating the environment.
- Utilize Collection Points: Use designated collection points or recycling centers for electronic waste. These facilities are equipped to handle and process materials safely.
- Seal Sharp Components: If you have broken or sharp parts, wrap them securely in a sturdy container. This precaution protects you and others from potential injuries during disposal.
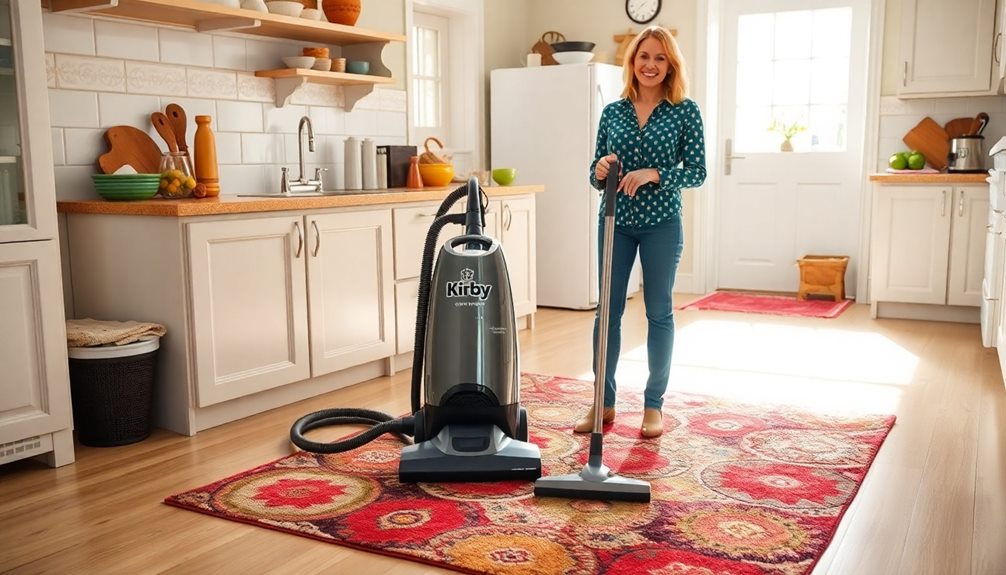
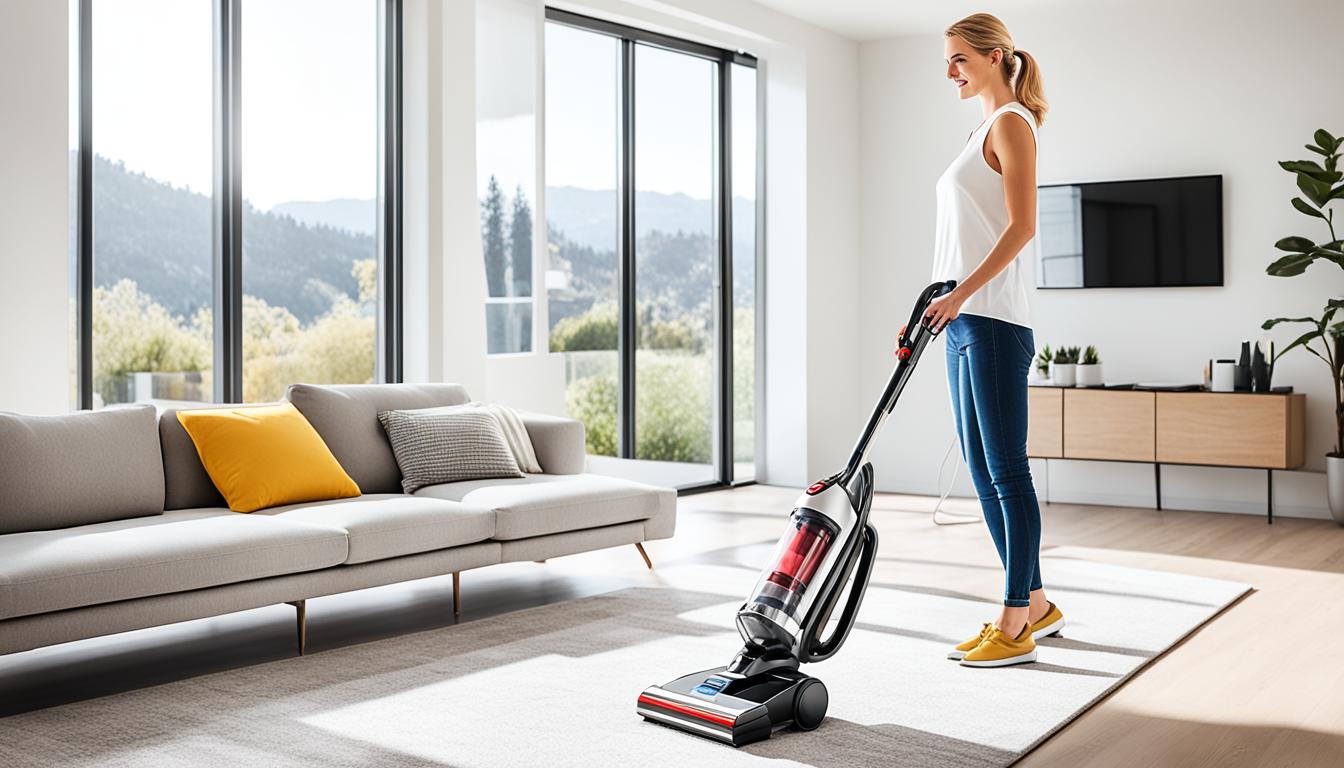
Testing the Vacuum

Testing the vacuum is an essential step to confirm its efficiency and effectiveness. Before you start, make certain all components are securely assembled and the power source is connected properly.
Once you're set, conduct a test run on various surfaces—carpet, hardwood, and tile—to evaluate its suction effectiveness and adaptability.
Use small debris or pet hair during your test to see how well the vacuum picks up different types of dirt and particles. Pay attention to how it performs on each surface, noting any differences in suction power.
While testing, monitor for any unusual sounds or vibrations, which might indicate issues with the motor or other components.
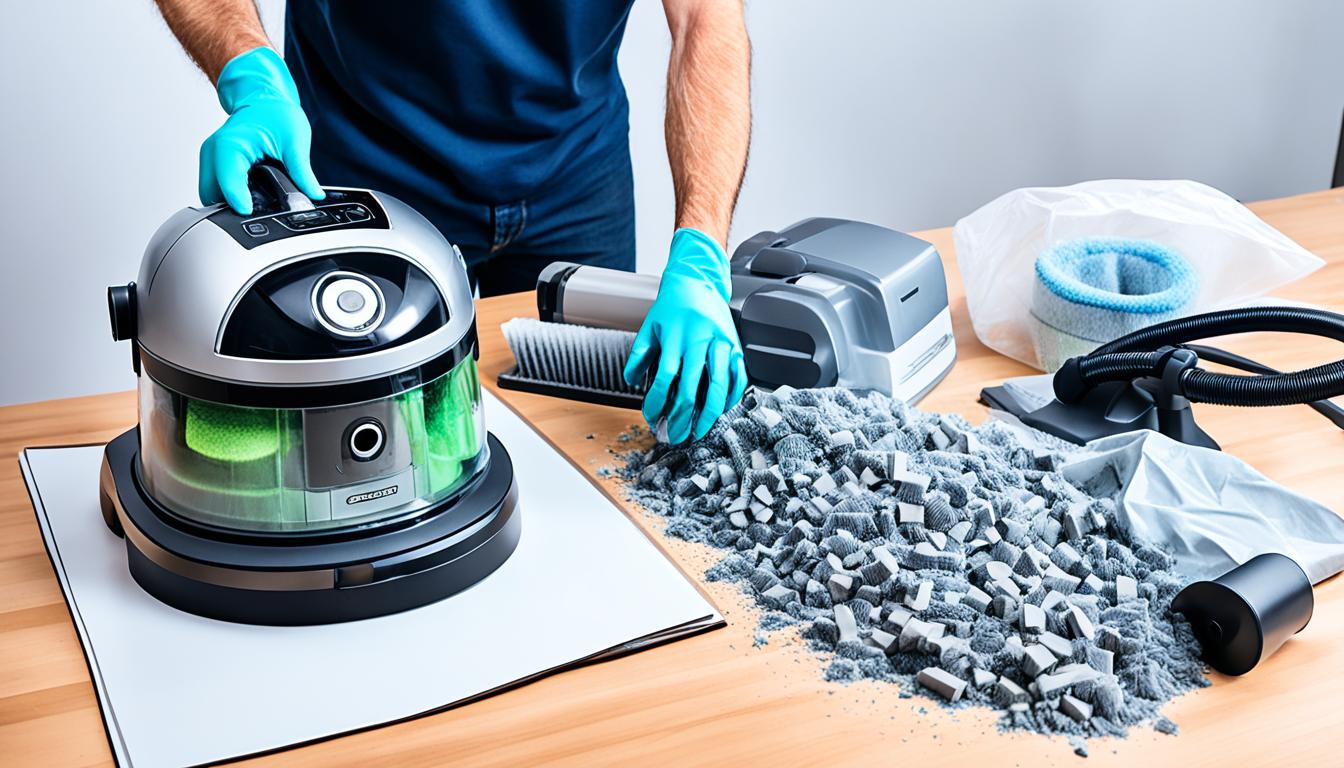
After completing your test runs, check the dust container or bag for fill levels. This will help you assess how much debris your vacuum has collected.
Additionally, inspect the filters to confirm they're clean and functioning at peak performance.
A thorough testing process not only confirms that your vacuum cleaner works well but also helps you identify any necessary adjustments before using it regularly.
Maintenance Guidelines
Once you've confirmed that your vacuum cleaner operates effectively, regular maintenance is vital for keeping it running smoothly. By following these guidelines, you can prolong your vacuum's life and guarantee it performs at its best.
Regular maintenance, such as monitoring air quality indicators, can also be beneficial for other household appliances like air purifiers, where peak performance is essential.
- Clean the Filter: Make it a habit to clean the vacuum cleaner's filter monthly or as recommended by the manufacturer. This helps maintain peak suction and prevents clogs.
- Inspect Hoses and Attachments: Regularly check the vacuum's hose and attachments for blockages or damage. Repair or replace them as needed to guarantee efficient operation.
- Empty the Dust Bin: Frequently empty the dust bin or replace the vacuum bag to prevent overfilling. Overfilling can reduce suction power and might even lead to overheating.
- Lubricate Moving Parts: Periodically lubricate the wheels and any moving parts to guarantee smooth operation and prevent excessive wear and tear.
Additionally, store your vacuum cleaner in a dry, cool place, and keep the cord neatly coiled. This will help avoid damage and contribute to a longer lifespan.
Taking these simple steps will keep your homemade vacuum cleaner in top shape!
Troubleshooting Tips

When your vacuum cleaner isn't performing as expected, it can be frustrating, but don't worry—troubleshooting is often straightforward.
Start by checking for clogs in the hose or filters. If dirt isn't being picked up effectively, clear any debris obstructing airflow.
Next, verify that the brush roll is spinning freely. If it isn't, inspect for tangled hair or other debris and remove any obstructions.
If you hear unusual noises, it might indicate a motor issue or a problem with the belt. Inspect both for signs of wear or damage.
Losing suction? Confirm that the dust canister or bag isn't full, and double-check that all seals and connections are secure to prevent air leaks.
Lastly, don't overlook the importance of regular maintenance. Clean or replace filters according to the manufacturer's recommendations.
This not only helps maintain peak performance but also prevents overheating.
Creative Uses for Your Vacuum

Get creative with your vacuum cleaner and discover its many hidden talents beyond just cleaning floors. This versatile tool can tackle various tasks around your home, making it an essential companion for more than just dirt and dust.
Here are some innovative ways to use your vacuum:
- Reach Tight Spaces: Use the crevice tool or dust brush attachments to clean behind appliances or in those pesky corners where dust collects.
- Pet Hair Removal: Put on a rubber glove or use a pet hair attachment to easily lift stubborn pet hair from your furniture and carpets.
- Clean Air Vents: Attach the hose to clean out air vents and ducts, which helps improve your home's air quality and efficiency.
- Spill Cleanup: Switch to the dry vacuum setting to quickly and safely clear up spills of dry materials like flour or sawdust, preventing clogging in your vacuum.
Frequently Asked Questions
How Can I Make a Vacuum at Home?
You can create a vacuum at home by using everyday materials. Start by assembling components like a fan, tubing, and a bottle. Make certain everything fits tightly to maximize suction for effective cleaning. Keep it clean for best results.
What Materials Are Used to Make a Vacuum Cleaner?
Imagine building a fortress to keep dust at bay. You'll need plastic for the body, metal for the motor, rubber for seals, and HEPA filters to trap allergens—each piece combining to protect your clean kingdom.
How Does Homemade Vacuum Cleaner Work?
A homemade vacuum cleaner works by creating low pressure, which draws air and debris into a filter. You'll need a fan or motor to generate suction, ensuring proper airflow and efficient filtration for cleaner air.
How Do You Make a Vacuum With a Water Bottle?
You wouldn't believe how simple it is to make a vacuum with a water bottle! Just cut the bottom off, attach a fan, add water, and watch it suck up dirt effortlessly. It's surprisingly effective!
Conclusion
You've now got a homemade vacuum cleaner that's not only functional but also a demonstration of your creativity and resourcefulness. By following these steps, you've turned everyday materials into a useful tool, proving that innovation often lies in the simplest of ideas. Remember to maintain your vacuum regularly to keep it running smoothly. So, next time you need to clean up, you'll have a unique solution at your fingertips, showcasing the power of DIY ingenuity!