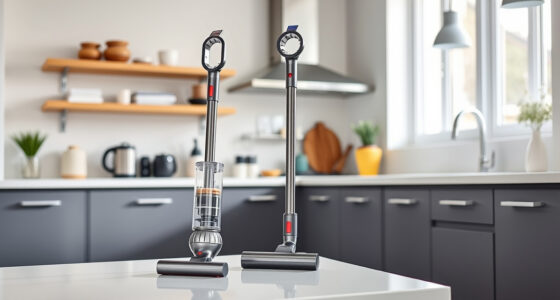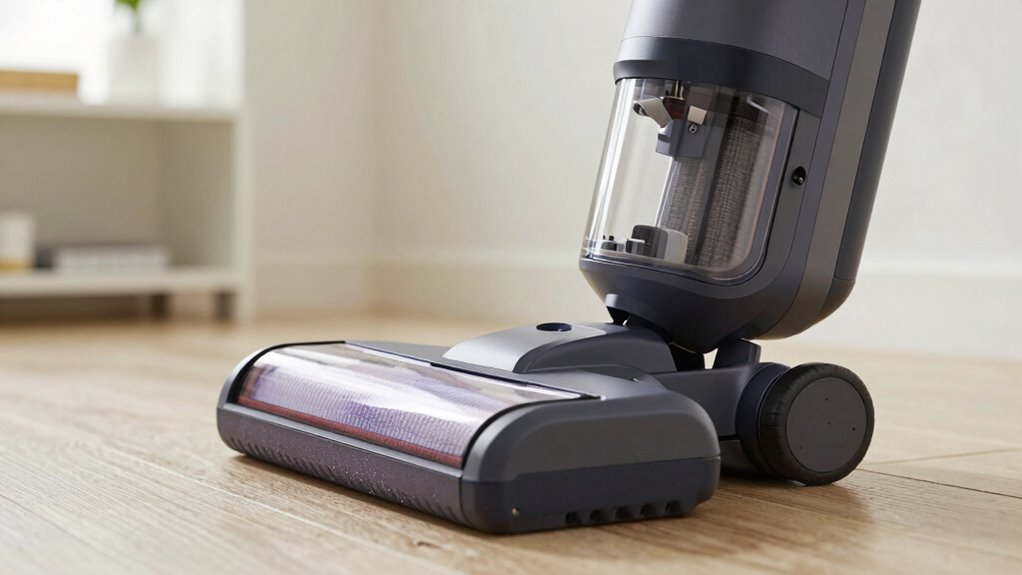

To make vacuum maintenance feel simple, keep it routine and manageable. Regularly check and clean filters near the dustbin or panels, replacing them every few months to keep suction strong. Inspect belts and belts, replacing them when needed, usually every 6-12 months. Tidy nearby outdoor areas and entryways to reduce dirt inside, easing the vacuum’s job. Performing quick inspections and simple adjustments regularly prevents bigger problems, making upkeep easier—so stay with it to discover even more tips.
Key Takeaways
- Establish a regular maintenance schedule for filters, belts, and inspections to simplify ongoing upkeep.
- Keep necessary tools and replacement parts easily accessible to streamline quick repairs.
- Follow manufacturer guidelines for cleaning and replacing parts to avoid confusion and ensure proper maintenance.
- Incorporate routine checks into your cleaning routine to prevent major breakdowns and extend vacuum life.
- Use visual guides or labels to identify parts and maintenance steps, making tasks straightforward and less intimidating.
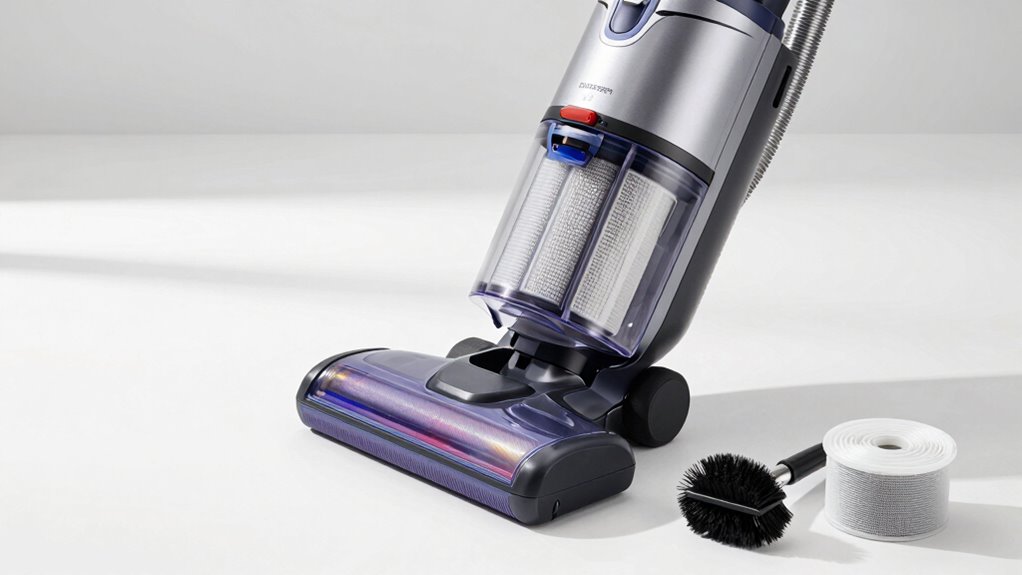
Maintaining your vacuum doesn’t have to be a challenging task. With a few simple steps, you can keep your cleaner running smoothly and extend its lifespan. One of the most important aspects of maintenance is keeping the vacuum filter clean. A clogged or dirty filter can reduce suction power and strain the motor, making your vacuum less effective. Regularly checking and replacing the vacuum filter ensures optimal performance. Most filters are easy to access—usually located near the dustbin or behind a panel—and can be removed, cleaned, or swapped out in just a few minutes. Check your manufacturer’s guidelines for recommended replacement intervals, but a good rule of thumb is to clean or replace the filter every few months, especially if you vacuum frequently or have pets. Incorporating landscaping elements near your outdoor spaces can also help reduce dirt and debris tracked into your home, easing the burden on your vacuum. Additionally, keeping home entryways tidy can prevent excess dirt from being carried inside, making maintenance easier. Maintaining a clean environment can also contribute to less frequent vacuuming, which in turn reduces wear and tear on your machine.
Another key component to focus on is belt replacement. Over time, the belt that drives the brush roll can wear out, crack, or slip, which diminishes cleaning power and can even cause damage if left unchecked. To make belt replacement straightforward, start by unplugging your vacuum and removing the brush roll cover. Carefully take out the worn belt, noting how it’s positioned, so you can install the new one correctly. Be sure to purchase the right belt for your vacuum model to ensure proper fit and function. Installing the new belt is usually a matter of looping it around the motor shaft and the brush roll, then reassembling the cover. Doing this every six to twelve months, depending on usage, keeps your vacuum’s agitator spinning freely and optimizes dirt pickup. Regular maintenance also involves inspecting vacuum components, such as the belts and filters, to prevent unexpected breakdowns. Taking the time to perform these simple checks can save you from costly repairs and extend the life of your appliance. Remember that preventive maintenance can greatly improve your vacuum’s longevity and performance.
Staying on top of these tasks doesn’t require technical expertise or expensive tools. Set a reminder to check the filter and belt every few months, and keep a small toolkit nearby for quick adjustments. When you perform these simple maintenance steps regularly, you prevent more costly repairs down the line and keep your vacuum performing at its best. Remember, a clean filter and a functioning belt are the core of effective vacuum operation, so giving them a little attention often pays off in cleaner floors and less frustration. With just a few minutes every few months, you can make vacuum maintenance feel simple and ensure your cleaner continues to serve you well.

Keluke Replacement Vacuum Filters Kit for Dyson V7 V8 SV10
- Precise Fit for Specific Models: Compatible with Dyson V7, V8, SV10
- Model Compatibility: Replaces Part # 965661-01 & 967478-01
- Complete Filter Bundle: Includes 2 Post-Filters, 2 Pre-Filters, 1 Brush
As an affiliate, we earn on qualifying purchases.
As an affiliate, we earn on qualifying purchases.
Frequently Asked Questions
How Often Should I Schedule Vacuum Maintenance?
You should schedule vacuum maintenance every 3 to 6 months to keep it running efficiently. Regularly check and clean your vacuum’s filter and brush to maintain ideal vacuum storage, preventing clogs and damage. Proper upkeep enhances energy efficiency, saving you money on electricity bills. If you notice a decline in performance, perform maintenance sooner. Consistent care ensures your vacuum remains effective and prolongs its lifespan.
Are There Specific Tools Needed for Vacuum Upkeep?
Think of your vacuum as a trusted ally, requiring the right tools to stay strong. You’ll need a screwdriver for belt replacement and a brush or cloth to clean the vacuum filter. These simple tools help you maintain your vacuum’s power, ensuring it performs like new. Regularly checking and replacing the filter and belt keeps your vacuum running smoothly, making your cleaning routine more effective and less frustrating.
Can I Perform Maintenance Without Professional Help?
Yes, you can perform vacuum maintenance yourself with some DIY tips. Start by unplugging the vacuum and checking for blockages or debris. Use basic tools like screwdrivers for filter or brush replacements. Always follow safety precautions, such as wearing gloves and avoiding sharp parts. Regularly clean filters and empty the dustbin to keep it running smoothly. With a little effort, you’ll maintain your vacuum effectively without professional help.
What Signs Indicate My Vacuum Needs Repairs?
If your vacuum’s acting more like a relic than a cleaning hero, it’s time for repairs. Notice reduced suction? It’s probably time for a bag replacement. If your brush isn’t spinning or looks like it’s seen better days, brush cleaning is overdue. Strange noises or bad odors? Those are your clues to take action. Don’t ignore these signs—your vacuum’s begging for a quick fix before it throws in the towel!
How Do I Troubleshoot Common Vacuum Issues?
To troubleshoot common vacuum issues, start by checking the vacuum filter and replacing it if it’s dirty or clogged, which can cause poor suction. Next, inspect the belt for signs of wear or breakage, and replace it if needed to restore proper movement. Also, clear any blockages in the hose or brush roll. Regularly maintaining these parts keeps your vacuum running smoothly and simplifies troubleshooting.
Conclusion
Now that you know these simple tips, vacuum maintenance becomes so effortless, you’ll wonder why you ever stressed over it! With just a quick check here and a tiny clean there, you’re practically a vacuum superhero, saving hours and avoiding disasters. No more tangled cords or clogged filters ruining your day—your vacuum will be so happy, it’ll practically do a happy dance every time you turn it on! Get ready to conquer cleaning like never before!