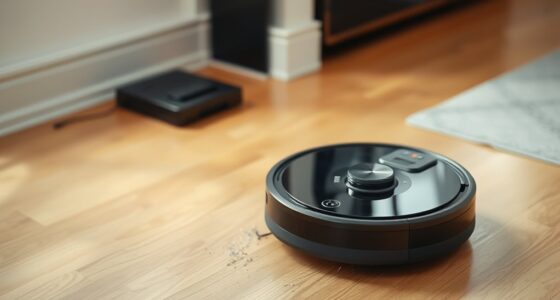

If your vacuum’s battery no longer holds a charge, drains quickly, or loses power despite proper charging, it’s time to replace it. Avoid frequent discharges and keep the battery between 20% and 80% for longer life. When replacing, choose a compatible, manufacturer-recommended battery and follow proper installation steps. Maintaining good charging habits can extend its lifespan, but understanding when and how to swap it out guarantees your vacuum stays efficient—more details await if you continue.
Key Takeaways
- Replace the battery when you notice reduced runtime, decreased cleaning power, or frequent recharging despite proper maintenance.
- Avoid replacing too early; wait until performance declines significantly or signs of wear are evident.
- Choose a compatible, manufacturer-recommended replacement battery with correct voltage and capacity specifications.
- Properly install the new battery following the manufacturer’s instructions to ensure safety and optimal performance.
- Maintain good charging habits—avoid overcharging and extreme temperatures—to prolong the lifespan of your new battery.
If your device’s battery no longer holds a charge or drains quickly, it’s time for a replacement. Over time, batteries naturally lose their ability to hold a full charge, reducing their overall lifespan. If you notice that your vacuum’s runtime has considerably diminished or it needs frequent recharging, it’s a clear sign that the battery is wearing out. Understanding the typical battery lifespan helps you anticipate when a replacement might be necessary, preventing interruptions during your cleaning routine. Proper charging tips can also extend the life of your battery while it’s still functional. Avoid letting the battery completely discharge regularly, as deep discharges accelerate wear. Instead, aim to keep the charge level between 20% and 80%. When charging, use the original charger or a compatible one recommended by the manufacturer to prevent overcharging or damage. Don’t leave the vacuum plugged in for extended periods after it’s fully charged, as this can harm the battery’s health over time. Additionally, try to avoid exposing the battery to extreme temperatures during charging and storage, since heat and cold can impair its performance and shorten its lifespan. Monitoring your device’s battery performance regularly can help identify early signs of degradation and prompt timely replacements.
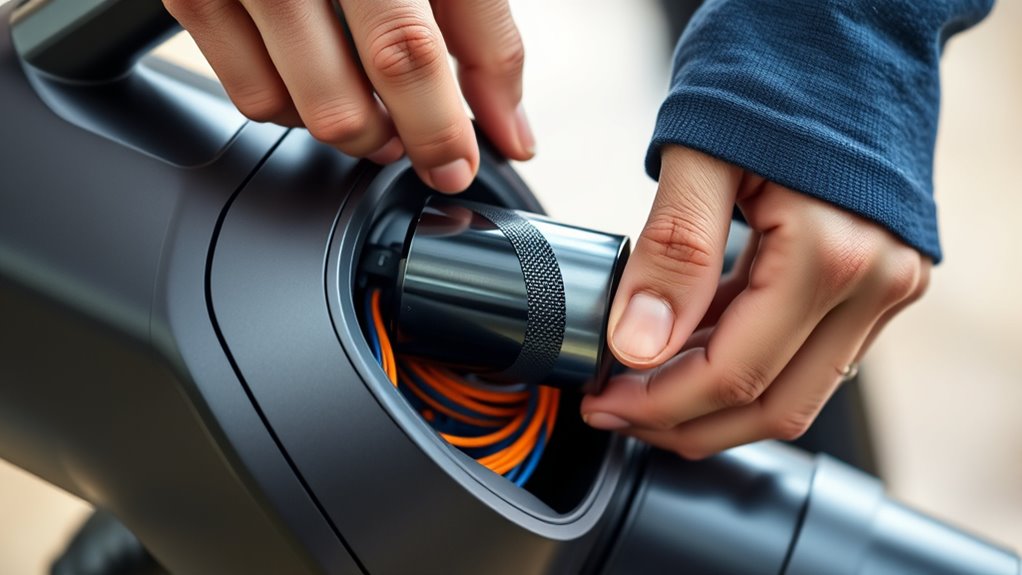
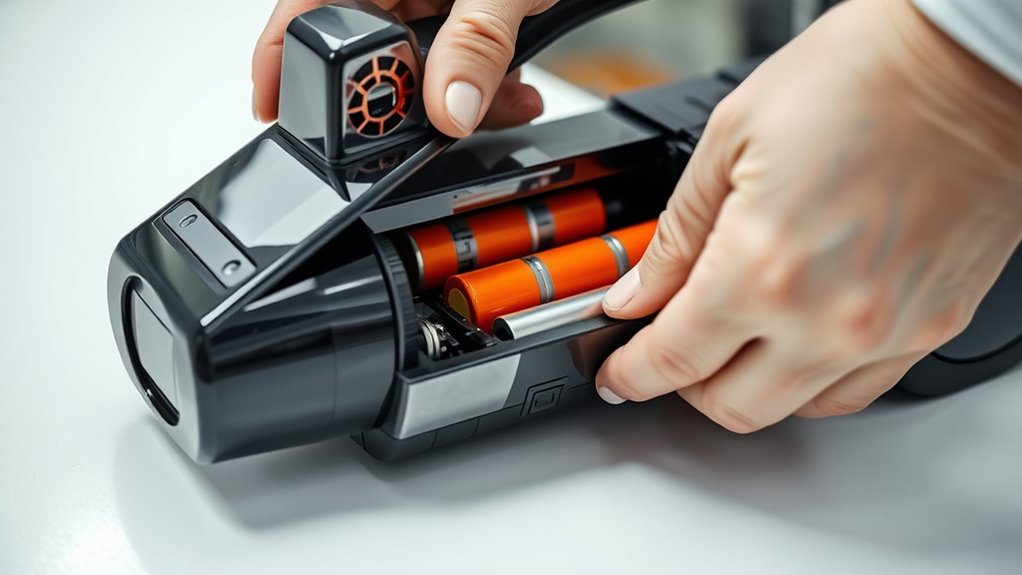
As your vacuum’s battery ages, you might notice a decline in cleaning power or a shorter runtime between charges. If these issues persist despite following proper charging tips, it’s probably time for a replacement. Replacing the battery is straightforward but requires choosing the right type to ensure compatibility and peak performance. Many vacuum manufacturers offer replacement batteries designed specifically for their models, making installation easier and more reliable. When selecting a new battery, check the specifications carefully—voltage, capacity, and size—to match your existing one. Installing a fresh battery can restore your vacuum’s efficiency and extend its service life without the need for a costly new device. Keep in mind that batteries tend to degrade gradually, so if you’re experiencing rapid power loss, a replacement should be considered sooner rather than later.
Frequently Asked Questions
Can I Replace My Vacuum Battery Myself?
Yes, you can replace your vacuum battery yourself if you’re comfortable with DIY repair. First, make certain you select a battery compatible with your vacuum model to avoid issues. Turn off and unplug your vacuum, then carefully remove the old battery. Follow your manufacturer’s instructions, and handle components gently. With the right tools and attention to battery compatibility, you can save time and money by replacing it yourself.
How Do I Dispose of Old Vacuum Batteries Safely?
Think of your old vacuum battery as a fading star—valuable but needing proper farewell. To safely dispose of it, you should take it to a designated battery recycling center; this guarantees hazardous waste doesn’t contaminate the environment. Never throw it in the trash, as it can leak harmful materials. Proper disposal respects both the planet and future generations, turning the end of your battery’s life into a responsible act of stewardship.
Are There Specific Brands Compatible With My Vacuum Model?
You should check your vacuum’s model specifications to find compatible brands. Many manufacturers recommend specific brands for peak performance, ensuring brand compatibility. Always verify the battery’s size, voltage, and connector type to match your vacuum model. Using the right brand and matching model specifications prevents damage and maintains efficiency. When in doubt, consult your vacuum’s user manual or contact the manufacturer for recommended battery brands that suit your device.
What Is the Average Lifespan of a Vacuum Battery?
The clock’s ticking, and your vacuum battery typically lasts 2-3 years, depending on battery chemistry and how often you charge it. Proper battery charging habits can extend its life, but eventually, wear and tear take a toll. Keep an eye on performance and consider replacing it when you notice diminished suction or shorter run times. A well-maintained battery keeps your vacuum running like a well-oiled machine.
Can a Damaged Battery Pose Safety Risks?
A damaged vacuum battery can pose safety risks like a battery fire or chemical leak. If you notice swelling, corrosion, or a strange smell, stop using it immediately. A compromised battery could overheat or catch fire, risking injury and damage. To stay safe, replace the damaged battery promptly, dispose of it properly, and avoid exposing it to heat or punctures. Always handle batteries carefully to prevent accidents.
Conclusion
Knowing when and how to replace your vacuum’s batteries keeps your cleaning tools running smoothly, like a well-oiled machine. Don’t wait until your vacuum sputters to a halt—timely replacements save you time and frustration. Think of your batteries as the heart of your cleaner; when they weaken, everything suffers. Stay vigilant, follow proper procedures, and your vacuum will serve you faithfully, like a loyal companion ready to tackle messes at a moment’s notice.