To effectively clean baseboards and tight spots with a crevice tool, first guarantee your vacuum or cordless cleaner is compatible and securely attach the nozzle. Use slow, steady strokes at a slight angle to focus suction on corners and textured areas, working from top to bottom for thorough dust removal. Keep the tool close to surfaces without pressing too hard and regularly check that it remains firmly attached. Keep going to discover more tips for best results.
Key Takeaways
- Attach the crevice tool securely to your vacuum to ensure effective and safe cleaning.
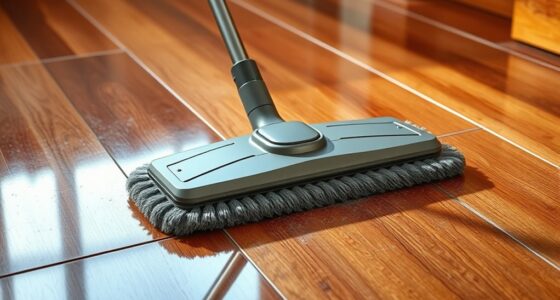
- Begin at the top of baseboards, moving downward with slow, steady strokes for thorough dust removal.
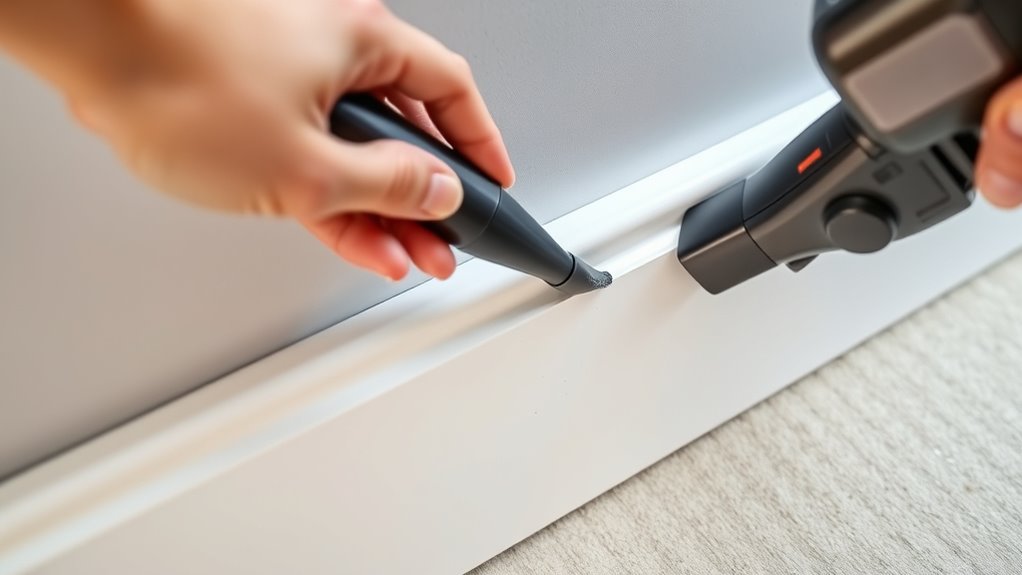
- Use the narrow tip at a slight angle to reach tight spots, corners, and textured surfaces effectively.
- Apply gentle airflow and avoid pressing hard to lift dust without scattering debris.
- Complement vacuuming with microfiber cloths afterward to catch remaining dust missed by suction.

Cleaning baseboards and tight spots can be tricky, but a crevice tool makes the job much easier. These narrow attachments are designed to reach into those hard-to-access areas where dust and debris tend to hide. When using a crevice tool for dust removal, you’re able to get a thorough clean without moving furniture or risking damage to walls and trims. The key to effective cleaning lies in knowing how to use the tool properly and applying a few simple tips to maximize its efficiency.
First, make sure your vacuum or cordless cleaner is compatible with a crevice tool. Attach the narrow nozzle securely, ensuring it doesn’t come loose during use. When you begin, start at the top of the baseboards and work your way down. Use slow, steady strokes to allow the tool to pick up dust from every nook and cranny. For tight spots like corners or behind furniture, hold the tool at a slight angle to get the full reach. Remember, the goal is to loosen and lift dust without scattering it around, so keep the airflow steady but gentle.
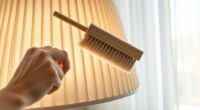
In terms of dust removal, a crevice tool excels because it concentrates suction into a small area, making it easier to pull out stubborn dust particles. To get the best results, consider using a brush attachment at the end of the crevice tool if your vacuum has one. This combination helps dislodge dirt from textured surfaces and corners, especially where dust tends to settle undisturbed. When working along baseboards, pay attention to gaps and moldings, where dust often accumulates unnoticed. Running the tool along these edges ensures a complete clean, reducing allergens and improving air quality.
Additionally, understanding the importance of proper color accuracy can help you see a more precise and detailed view of your cleaning environment, ensuring no spot is missed. Here are a few tool tips to keep in mind: don’t press too hard—let the suction do the work. Applying excessive pressure can damage delicate surfaces or push dust further into crevices. Also, periodically empty your vacuum’s dustbin to maintain strong suction. If your vacuum has adjustable suction settings, turn it up for more stubborn dirt, then lower it for lighter dust. For very tight spaces, try angling the crevice tool slightly to get more leverage and reach. Finally, after finishing, wipe down the baseboards with a microfiber cloth to catch any remaining dust that the vacuum might have missed.
Using a crevice tool is an efficient way to tackle dust removal in tight spots around your home. With the right technique and a few tool tips, you’ll make quick work of cleaning baseboards, corners, and other tricky areas, leaving your space looking fresh and dust-free.
Frequently Asked Questions
Can I Use a Crevice Tool on Delicate or Painted Surfaces?
Yes, you can use a crevice tool on delicate surfaces and painted finishes, but do so carefully. Use a low suction setting to avoid scratching or damaging the paint. Test it in a small, hidden area first to make certain it won’t harm the surface. Keep the tool moving gently and avoid pressing too hard, so you clean effectively without risking any damage to your delicate surfaces or painted finishes.
How Do I Prevent Scratching Walls or Furniture With the Crevice Tool?
Imagine guiding your crevice tool along walls and furniture like a gentle breeze. To prevent scratches, always use protective tips and verify tool compatibility with delicate surfaces. Keep the tool moving smoothly, avoiding excessive pressure that could cause damage. Regularly check for any rough edges or debris on the attachment, and stay mindful of painted or fragile areas. With care, your cleaning will be effective and scratch-free.
Is a Crevice Tool Effective for Cleaning Behind Appliances?
Yes, a crevice tool is effective for cleaning behind appliances. You can easily reach tight spots and narrow gaps where dust and debris hide. Use it for appliance cleaning to remove accumulated dirt without moving heavy furniture. It helps you access behind refrigerators, washers, and stoves, making your cleaning quicker and more thorough. Just be gentle to avoid scratching surfaces, and you’ll keep those hard-to-reach areas spotless.
How Often Should I Replace or Clean My Crevice Tool?
You should clean your crevice tool regularly to maintain ideal tool maintenance, ideally after every few uses. Check for debris buildup or wear, and replace the tool if it becomes damaged or loses suction. Replacement frequency depends on usage; if you notice reduced effectiveness, it’s time for a new one. Proper cleaning and timely replacement ensure your crevice tool works efficiently and lasts longer, saving you money in the long run.
Can I Use a Crevice Tool for Cleaning Narrow Window Tracks?
Think of your crevice tool as a tiny explorer maneuvering narrow gaps. Yes, you can use it to clean window tracks, especially in tight spaces where dust and debris hide. Its slim tip reaches deep into narrow gaps, making it perfect for detailed cleaning. Just be gentle to avoid damaging the edges. This tool turns cleaning into a quick, efficient task, leaving your window tracks spotless.
Conclusion
Think of your crevice tool as a tiny sword, slicing through dust and grime hiding in the shadows of your home. With each swipe, you’re restoring the gleam and life to your space, turning neglected corners into shining beacons. Embrace this simple tool as your secret weapon, revealing the beauty that lies beneath the surface. Soon, your home will sparkle like a fortress renewed, a symbol of your dedication and care shining brightly in every corner.